How To Learn Digital Painting (The FAST + Easy Approach)
Disclosure: This article may contain affiliate links. That means if you buy something we get a small commission at no extra cost to you.
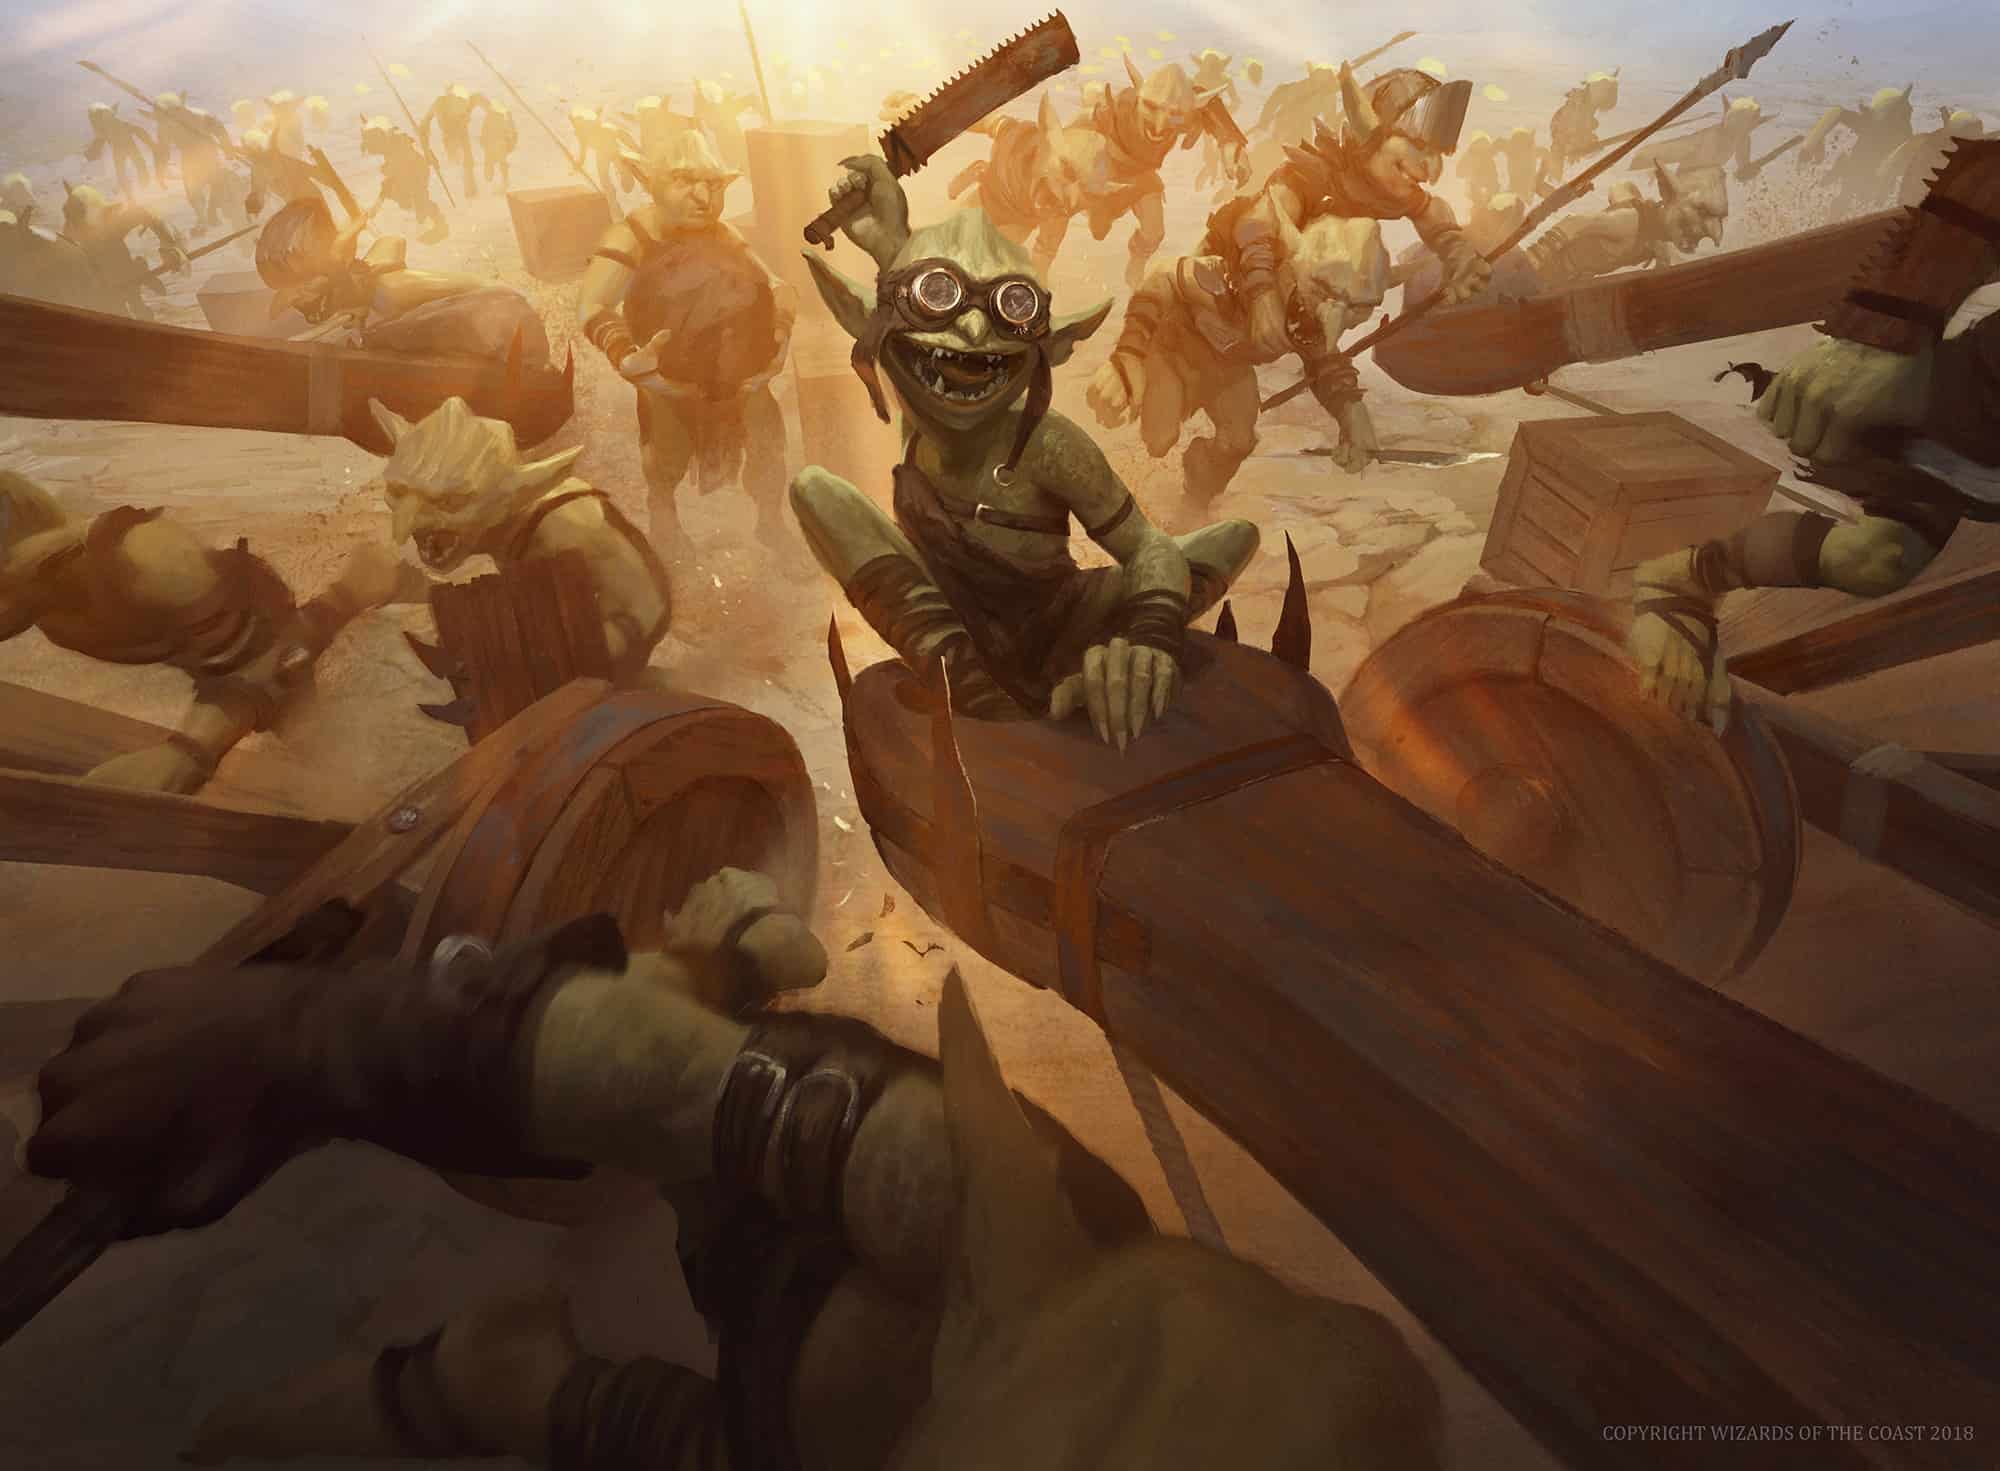
If you’re a regular on YouTube or Instagram, you may have found your feed covered with AMAZING digital paintings.
Seeing these, you may have wondered. Can I do this as well? How to get started with digital painting?
Well, you definitely can and should get started with digital painting. It’s easy, convenient, and super flexible.
You also need minimal equipment. A tablet and a software of your choosing and you’re totally ready to go!
So, what are you waiting for? If you’re ready to take a step into the world of digital art then let’s get started on exactly how to master digital painting in 2024!
How To Learn Digital Painting (The FAST + Easy Approach)
Digital Art VS Traditional Art
Before we jump straight into learning digital painting, you need to understand some simple information on this subject.
Differences
The first thing you need to know is that digital art is very different from traditional art.
Traditional art has everything to do with PHYSICAL medium. You actually need different types of papers, a ton of different pencils, and some supplementary materials like erasers, sharpeners, blenders, etc.
If you want to do some watercolor paintings then you would obviously need watercolors, brushes, a palette, etc.
It’s the same with oil paintings, gouache paintings, and colored pencil drawings. You would actually need to purchase all the material every time you want to try something new.
However, you can achieve EVERY effect you wish using digital software.
For example, if you want to create a watercolor effect in your digital painting, all you have to do is swap your regular round brush for a watercolor brush and paint with that.
Everything is in DIGITAL medium which is super convenient as well as flexible.
BUT, this doesn’t necessarily always have a be a good thing.
With digital medium, you completely lose the feel of paper and the texture that gets created with the grain of the paper. You can definitely scan the paper and then draw on it digitally but the feel is never the same.
If you’re an artist that has had some previous experience with paper then I’m sure you can relate. You’ll also find digital medium to be quite disorienting in the beginning. It will certainly take some getting used to.
Similarities
Although there may be plenty of differences between traditional and digital mediums, you’ll also find that they are SUPER similar as well.
Every single art fundamental you would need to learn for traditional art is EQUALLY as important to know for digital art as well.
This is why you’ll find all artists in the industry advising you to first learn traditional art and then gradually make the switch to digital art. This is all because knowing the art foundations is absolutely crucial to any artist who wants to go pro.
Also, you would use the exact same process that you would in traditional medium as well.
For instance, if you’re drawing a cute panda, you would first draw the initial sketch. You would then move on to the line art. After that, you would finally render in the colors. Lastly, you would add shadows and highlights.
This is the EXACT same process you would do on a digital medium too. A slight difference is that the sketch, line art, color, and shadow would all be on separate layers. (I’ll explain more about layers a bit further down)
And, the process would be much easier using the software as well (if you know how to use it well).
Is Digital Art Cheating?
Literally, everyone starts out thinking that digital painting is totally cheating and that it’s SOOO easy that you literally have to do nothing.
I’ve come across many people who even suggest that the software does everything for you.
If you’re one of them, let me tell you clearly.
NO, digital art is NOT cheating.
Honestly, if you think that then I suggest you grab the nearest tablet and open any drawing software. Try drawing AND painting something. Like a bowl of fruit.
Now, you tell me. Is it easy? Does the software do everything for you?
Many people assume that doing traditional art requires skill while digital art is something anybody can easily do once they’ve mastered the tools of the software.
Yeah, I’m sorry to break it to you but it isn’t that easy.
Of course, digital art is more flexible and gives you much more options to experiment with. However, it is just as complex as traditional art and both have a solid learning curve.
So, don’t underestimate the difficulty of digital art. You can easily get started BUT it takes a loong time to master. And it definitely isn’t cheating by any means.
TIP: This is assuming you aren’t actively copying other artists’ work or photobashing using their personal artwork. In that case, it is clearly violating copyright rules and you can’t use the work in any professional capacity.
Advantages of Learning Digital Art
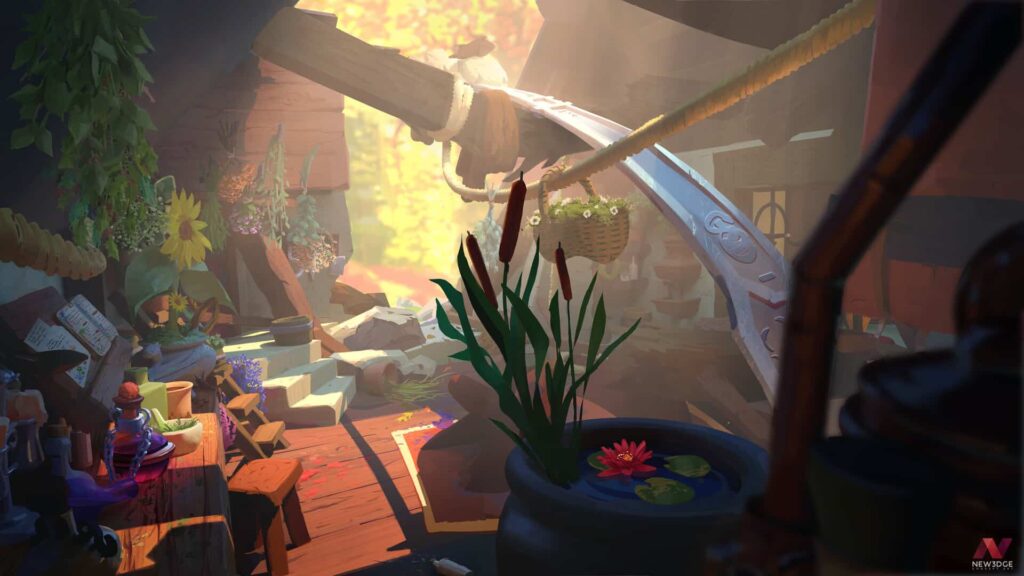
If you’re slightly unsure about whether to invest your time learning about digital painting, let me give you a list of the various advantages that digital art provides.
- Learning traditional art AND digital art makes you a much more versatile artist
- You can save a lot of time by painting digitally
- Digital painting can be done with minimal equipment (only a tablet and a pen)
- You can travel and paint digitally much more easily than if you were lugging traditional material around
- You can play around with MULTIPLE effects without frequently purchasing new material
- If you want to work in the entertainment industry, then learning digitally is a MUST
For all these reasons, I highly recommend you start learning digital painting as soon as possible.
Careers in Digital Art
Learning digital art will open up multiple job opportunities as well, such as:
- Character Design
- Concept Design
- Graphic Design
- Illustration
- Animation
- Environment Design
For the past two decades, the entertainment industry has almost entirely relied on digital artists, and artists that only employ traditional mediums are severely rare.
Thus, if you’re interested in any of these careers, then learning digital art is not really an option.
Where To Start?
Now that you’ve understood several facts about digital art, let’s finally get into exactly how to start off with digital painting.
The VERY first thing you’ll need to do is to find a device on which you can do your digital artwork. You’ll also need to decide which digital software (such as Photoshop, Clip Studio, etc.) you’ll use for your artwork.
Following that, you will need to learn the basics of the digital software you’ve chosen.
After that, you’ll start learning how to actually paint on the software.
I’m going to go through all of these steps in-depth so that you’ll know EXACTLY what to do. So, sit somewhere comfortable and grab your mug of coffee, and let’s go!
The TECH Stuff
Let’s start off with some basic technicalities you’ll have to go through.
Digital Software
There are plenty of digital software geared for artists and each of them is geared towards different audiences.
All of them have similar basic functionalities, but they vary in appearance, special features, and brush engines. Also, the more popular software have MANY more tutorials available online too, which can greatly benefit newbies.
1. Photoshop
This is a photo-editing software that cosplays as a digital art software as well. Since its popularity has grown greatly in the US as well as Europe, it remains the industry standard and most companies insist on their artists using this software.
Since its primary purpose was never intended to be for digital art, it has strong editing features but its brush engines leave a lot to be desired.
However, artists have skirted around this issue quite well by creating their own brushes and uploading them on the internet. Thus, you can download them and they will work well enough.
Also, there are SOO many tutorials on every single feature in Photoshop that you would never run into an issue that can’t be solved in 10 minutes.
If you’re planning to become a professional artist, then I highly recommend you go for Photoshop as it is definitely the industry standard.
2. Clip Studio Paint
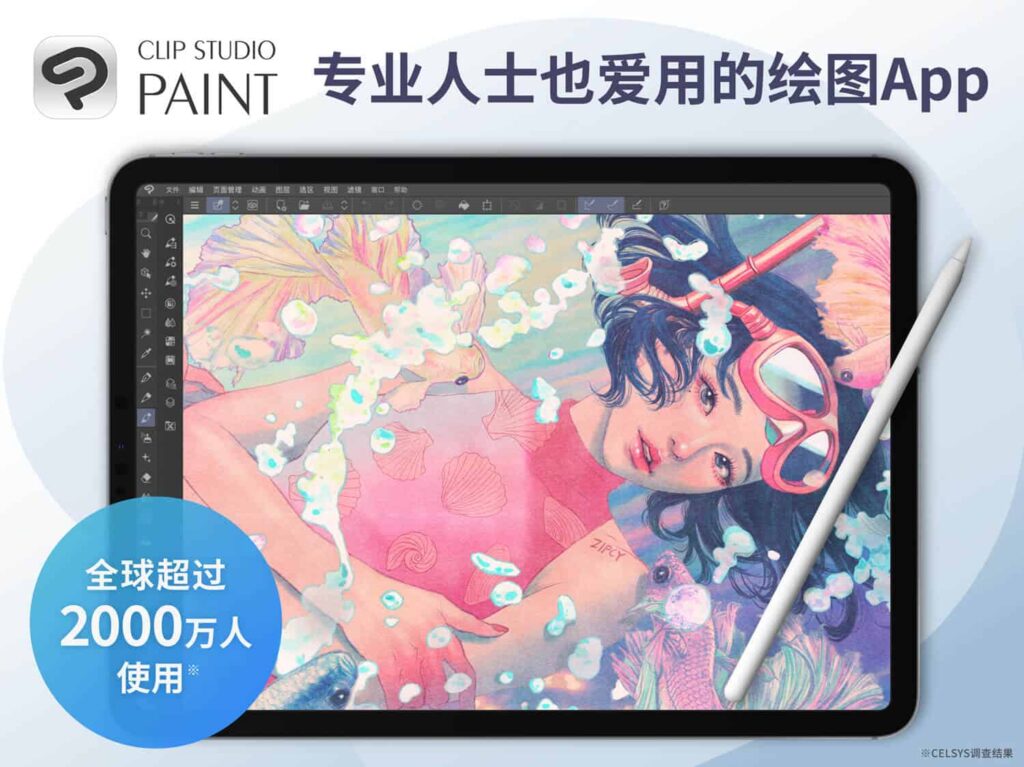
Clip Studio Paint is an absolutely amazing art software that has an affordable monthly subscription.
Unlike Photoshop, Clip Studio was actually made just for artists. To be more precise, it was made for comic artists, manga artists, and webtoon artists.
This is fantastic as its brush engine is highly developed and you get a ton of features that help you IMMENSELY in digital painting.
Although it is not the industry standard, it is the most popular software in the East and has plenty of tutorials available as well.
You can also animate fairly well in the software, which is not quite possible in Photoshop.
Overall, it is an AMAZING software and if you’re interested in comic art or illustration, then I recommend you go for Clip Studio Paint.
3. Procreate
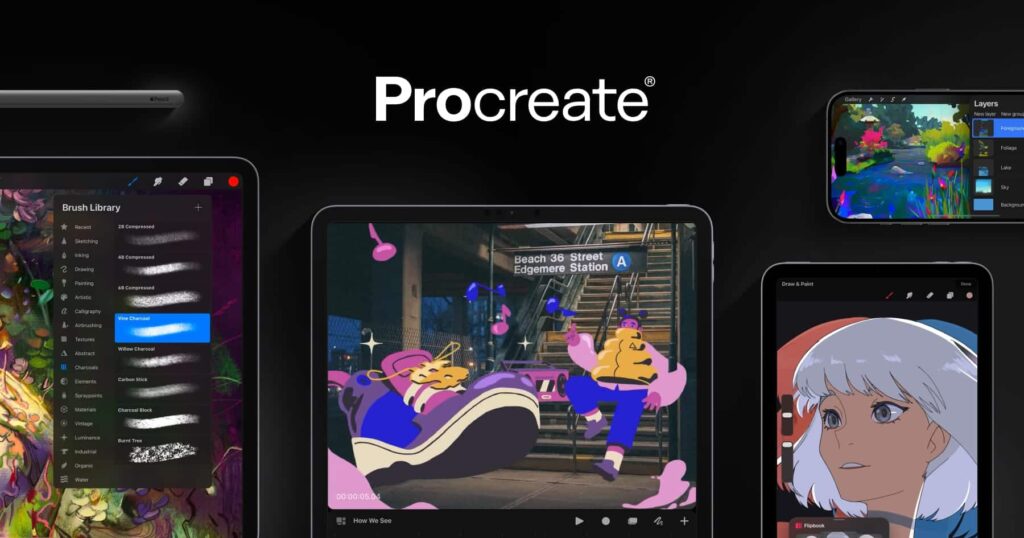
If you have an iPad or a MacBook, I HIGHLY recommend you purchase Procreate.
It is the cheapest option, as it’s only a one-time purchase for the device but is absolutely incredible.
Its brush engine is the clear winner on the list as the options are literally limitless. You can change the brush settings for its eraser as well as its smudging tool which is insane.
Also, the brushes are HIGHLY customizable so you can invent new brushes really easily.
Their software is also the most intuitive on this list and is incredibly easy to use as well as understand.
This software is the best for illustrators, graphic designers, and even for concept design.
However, it is not widely used and has fewer tutorials as well. Although it is gaining popularity fairly quickly, it is still not used by most companies.
TIP: Procreate is only available to Apple users. So, you can’t use Procreate on Windows (very sadly).
Drawing Tablets
Once you’ve picked a digital software you’d like to use, you can then decide which tablet you’d like to go with.
There are two kinds of tablets, one is a pen tablet and the other is a display tablet.
Pen Tablet
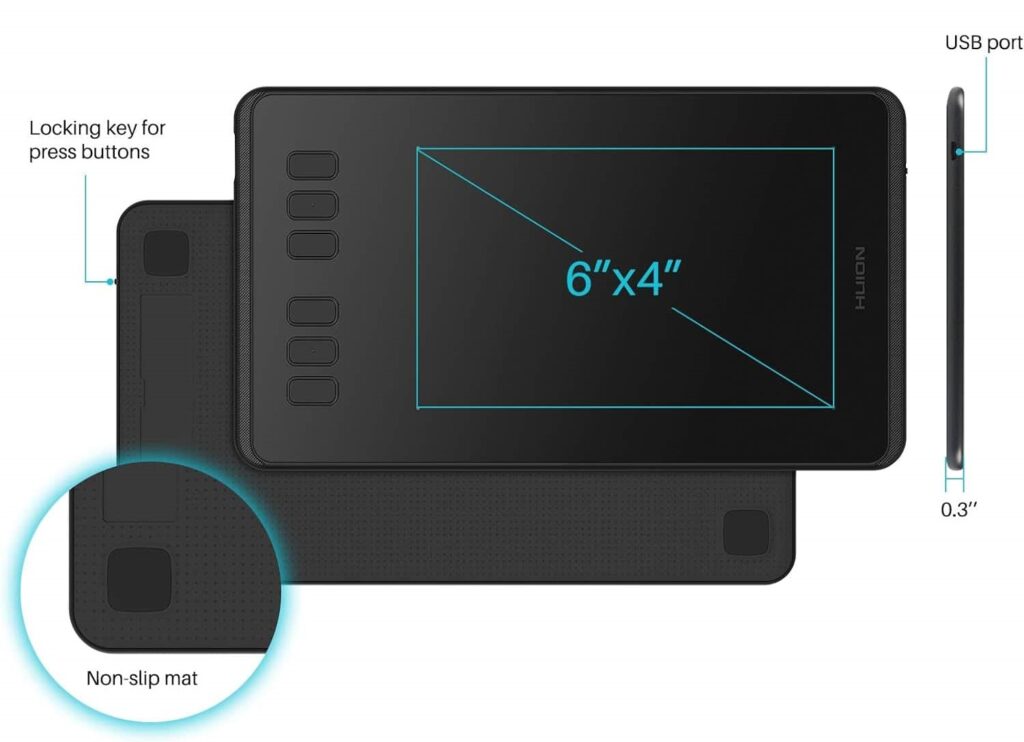
These tablets are the MOST easiest to use as well as the cheapest.
All you have to do is connect the tablet to your laptop/computer and draw on the tablet with a pen.
That’s it. It’s that easy.
On the tablet, there will be markings to indicate the drawing area. You need to stay within that area and draw and the cursor will move accordingly on your computer.
So, this is the closest you can get to traditional drawing and you can naturally move your arm from the elbow as well.
Display Tablet
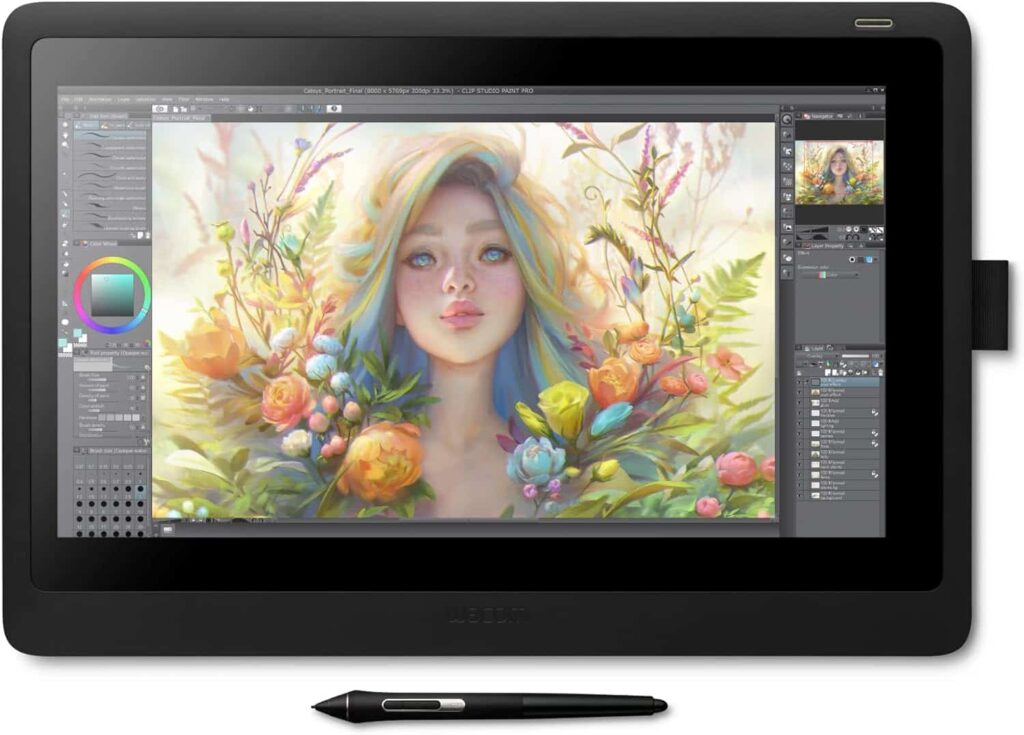
These tablets have a display in-built BUT they still need to be connected to your laptop/computer to operate.
So, they aren’t exactly portable and come with a bunch of wires as well.
However, they are GREAT to draw on as you can directly see what you’re working on, unlike pen tablets.
Also, depending on the display tablet you go with, the graphics will be amazing and you’ll be able to accurately view the colors as well.
However, the best display tablets come at a hefty price as well, so don’t go for it unless you’re SUPER serious about digital painting.
For beginners, I highly suggest you go for the pen tablet before upgrading to a display tablet.
Other Options
Pen tablets and display tablets are not your only two options.
If you really want to work on Procreate, you can consider getting yourself an iPad or a MacBook. Thus, you can use the tablet for other functions as well and it won’t be only limited to art.
You can also use a Samsung tablet (or any other really) to download Photoshop or Clip Studio Paint and you can work on them in this way as well.
TIP: If you’re brand new and don’t have a large budget, just grab a Huion pen tablet. They’re extremely cheap and are good quality as well.
Learn The Software
Once you’ve got all the equipment required to start, you’ll need to actually learn the software really well.
Basically, this involves learning about all the various tools on the software as well as layers, masks, brushes, etc.
You’ll need this basic information to use the software well enough. Here’s an amazing video that will show you EXACTLY how the Photoshop interface is and where everything is located.
For Procreate, you can check out this video, and for Clip Studio Paint, here’s a video for you as well.
Basic Terminology
To get you started, I’ll explain the two common terms that you’ll find pretty often.
LAYERS are exactly what the name suggests. Basically, a layer is the digital equivalent of tracing paper.
Let’s take the example of a panda again.
If I was using paper, I could roughly sketch the panda on one sheet of tracing paper.
I would then do the line art on another sheet of tracing paper placed over the first. This would allow me to reference all the lines and proportions from the previous sheet.
A layer is exactly the same thing. However, you do even more with them! For starters, you can play around with the opacity. You can instantly change the entire hue of a layer with a few clicks.
Having this flexibility is incredibly powerful and you can do a LOT with it. Here’s a great tutorial to get you started on layers.
BRUSHES are basically what you use to draw, sketch, ink, paint, and render on digital software. You can even blend using brushes (depending on how good the software is).
Although you may hear everywhere that brushes make or break the artist, that is NOT true. You can achieve a LOT with just a simple round brush too.
So, don’t focus on collecting hundreds of brushes at the very beginning since it’s a complete waste of time. Until you master the basics, you won’t need them anyway.
How to ACTUALLY Learn Digital Art?
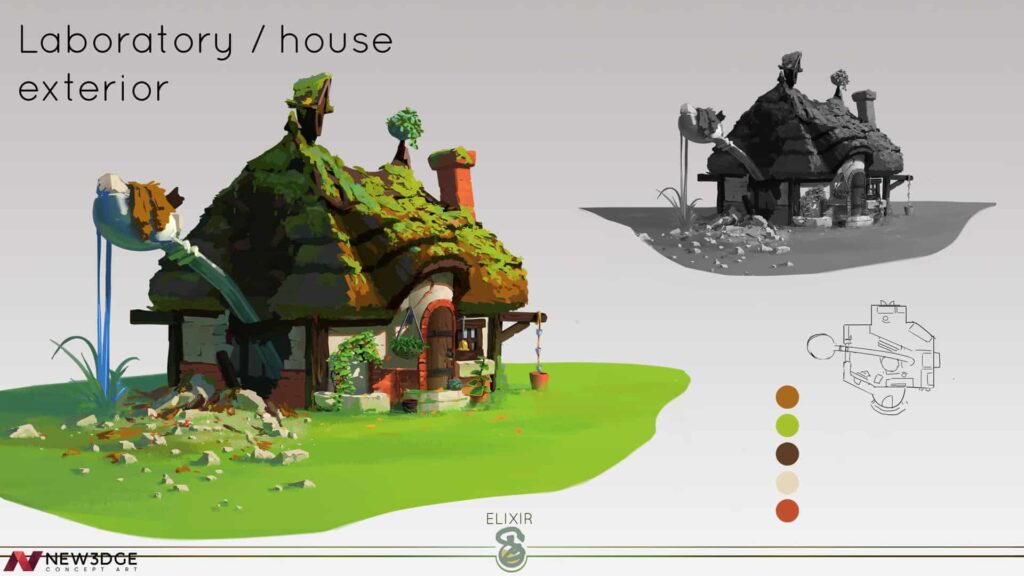
Once you’ve chosen your software as well as hardware of choice AND learned the basics of the software it’s FINALLY time to get started with the actual painting part.
So how do you start? What should you learn first?
The answer is the one most newbies hate.
Start with traditional art.
Start With Traditional
Okay, I know you might be groaning while reading this. Yet another post telling you to study traditional art first!
I know that you just want to dive straight into digital art and ignore everything else.
Now, you can definitely do that. I have zero problems with it. I remember wanting to do the same when I was in your place.
I had bought a new iPad, purchased Procreate, and had got all ready to go crazy with digital art. However, once I opened the app, I was SO lost. I didn’t know what to do and where to start.
My enthusiasm fizzled out within a few days and after a week, my iPad was left completely forgotten. Why? Because my art looked horrible no matter how I tried to fix it.
And maybe the same thing may not happen to you. However, I’m sure you will DEFINITELY face a similar experience.
So, however boring this may sound, I’m telling you that you should spend AT LEAST one month learning the basic fundamentals.
Art Fundamentals Are Important
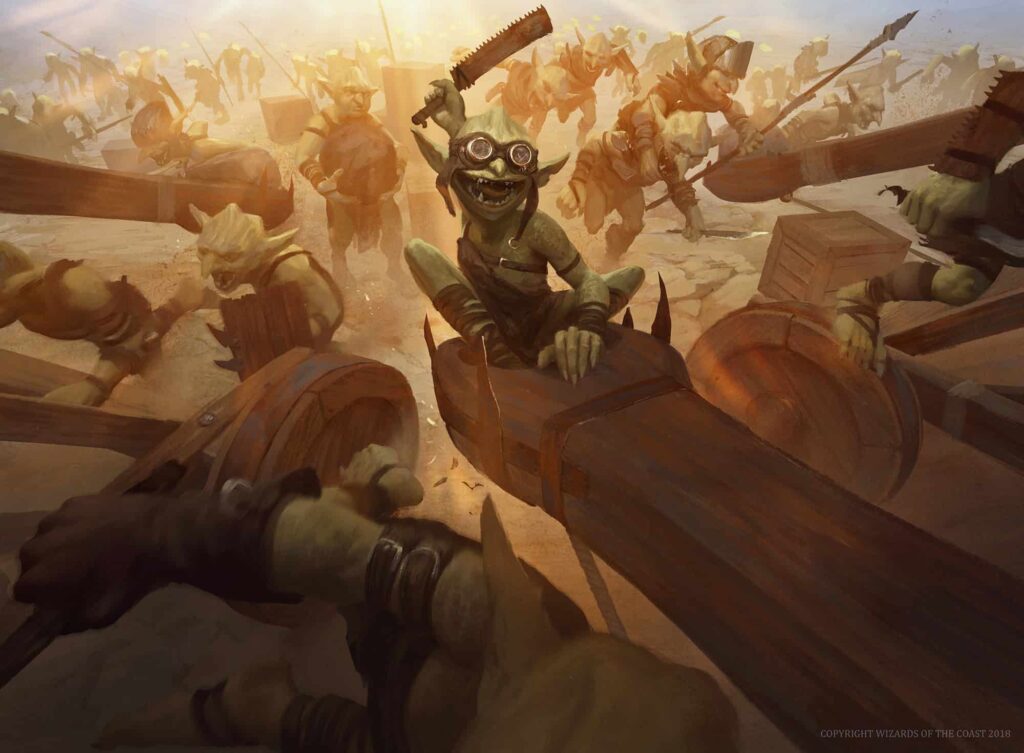
The art fundamentals include anatomy, perspective, form, color theory, light and shadow, and composition.
Now, I’m NOT telling you to learn everything before you start.
That would take MONTHS of learning and would be completely counter-productive as your excitement would literally dissipate faster than cotton candy in water.
No, I’m telling you to learn ONLY the very basics.
Let me give you an example.
Suppose you want to create your own character and paint it digitally. Sounds like a cool goal right? I’m sure many of you would love to do it.
Now for creating a character, you will need to know some basic anatomy. Right?
You’ll also need to know a bit about form (which will give the character more structure) and you’ll need to know some BASIC color theory.
That’s it.
You can learn the basics of figure drawing with a few Proko videos (you can do this either on paper or digitally if you really hate traditional mediums).
You can also learn form and structure by completing Lesson 1 of Drawabox.
While you can complete the above using traditional, you can directly head to digital to experiment with color theory. This video explains the VERY basics of color you need to know.
AFTER completing them, you can design your character. It may not turn out the best, but you’ll find it gratifying and will want to learn as well as draw more.
Can You Completely AVOID Traditional Art?
Well, you definitely can but I HIGHLY recommend you don’t.
Traditional art really sets the base for everything you’ll learn in your future art journey. That is, of course, if you’re interested in becoming a professional artist.
I recommend you at least learn anatomy, form, and perspective using a TRADITIONAL medium.
You can definitely move on to digital to learn color theory, composition, and light and shadow.
Learning Digital art
Now that we’ve got the traditional art talk out of the way, let’s talk about digital art. And EXACTLY how to do the very best you can with it.
Now, I’m going to explain a whole bunch of exercises that are going to elevate your art skills SERIOUSLY, but only if you give it time and patience.
And beware that this is especially for those who want to really excel at art.
If you’re taking art lightly, then you really don’t need to adhere strictly to this, but it will surely help you if you wish to improve your painting skills.
Let’s get started.
1. Value Studies
Again, this might seem INCREDIBLY boring but I promise you that it’s actually quite fun and super helpful.
Once you officially start with digital painting, value studies are going to be the very first thing that you’ll want to hit.
But let’s talk a bit more about value studies.
These studies are primarily intended for you to be able to recognize the subtle value changes in an object/image and you should learn to group values in ONLY two values: light and dark.
For example, if you study an apple, you should be able to group the values of the apple into light and dark only.
You’ll know you’ve succeeded when the final output immediately reads as an apple.
Here is a great video that’ll help you understand the exact process of a value study.
TIP: Don’t read objects using lines, but instead practice ONLY viewing shapes. Group common values into one shape and AVOID using lines at all costs.
Doing several studies like these is going to develop your intuitive skills IMMENSELY. And mastering values is literally the base for rendering, lighting as well as composition.
So, don’t omit this and REALLY practice these exercises well.
Aim to do still-life studies as they are the easiest and then slowly increase in complexity until you’re able to do keyframe studies as well.
2. Lighting Studies
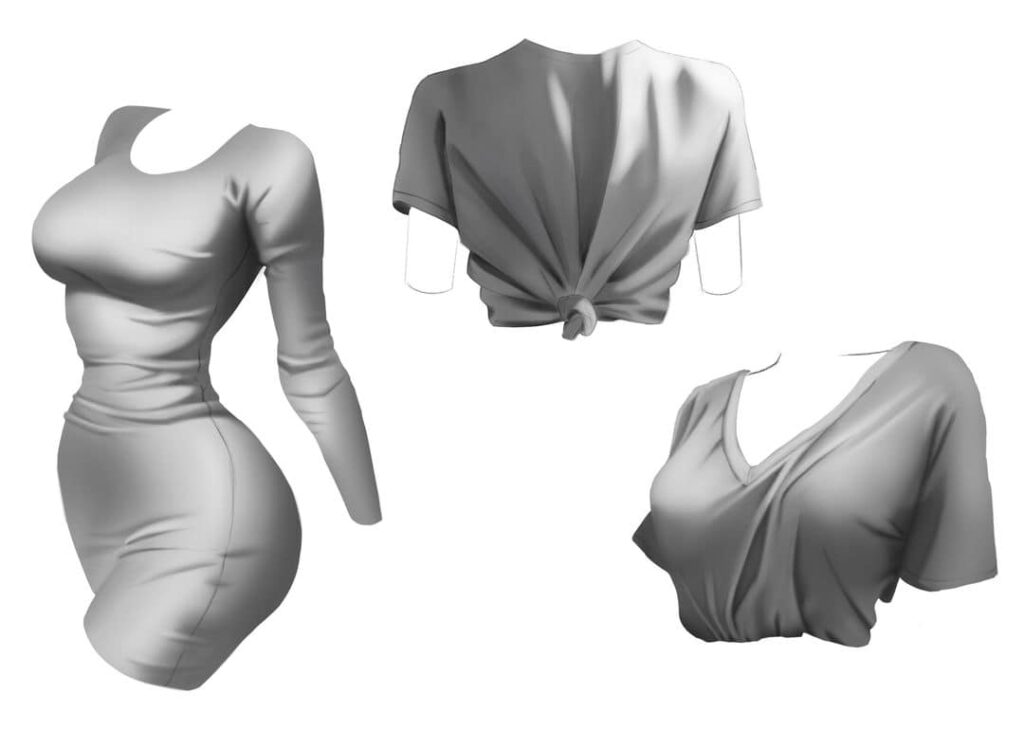
After completing a few value studies, it’s time to understand light better.
Also, these two studies go hand-in-hand so don’t feel the need to complete tons of value studies before this one. You can do both as and when you feel.
BEFORE starting any lighting studies, I would recommend you understand how light works and how simple forms can be affected by light. By simple forms, I mean cubes, spheres, cylinders, etc.
Once you’ve understood how to depict lighting scenarios on simple forms, you’ll really be able to light anything. Here’s a great video on the subject.
For intermediate artists, I recommend you do still-life studies. However, this time I want you to change the lighting direction from your reference.
Try to imagine exactly how the light would affect the objects and how the shadows would fall. Render them in simple greyscale (there is NO need for color at this stage).
Also, use only a simple round brush for these exercises. You don’t need anything fancy as you’re learning the basics.
3. Texture Studies
For texture studies, you can FINALLY abandon the round brush and start experimenting with texture brushes.
Remember that the brush is NOT important and it’s what you can do with a brush that’s wayy more important.
BEFORE this stage, I seriously request you to ignore other brushes (however tempting they may be) and strictly adhere to a round brush.
Now to start the study, I want you to grab different texture cubes from the internet. It won’t be hard as there are MANY of them.
Using them, I want you to start practicing imitating the same textures. Don’t think about perfecting the colors too much. In fact, I recommend you do this in grayscale so you can solely focus ONLY on the textures.
After doing a few texture cubes (they are SOO fun), you can try adding texture to other simple forms, such as transforming a cylinder into a dragon’s tail.
Practicing these often will help it become much more natural to you and you’ll eventually be able to do it at a moment’s notice.
4. Color Studies
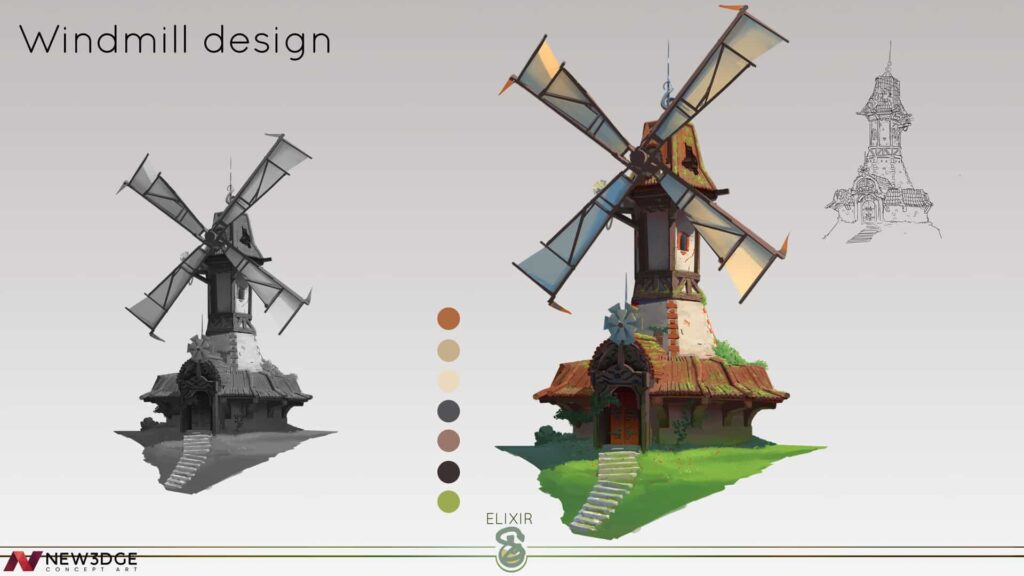
FINALLY, we’ve reached the best part of this article that I’m sure you’ve all been waiting for.
You can now tackle color theory.
Now, what you want to do is to learn ALL the basics of color theory. It’ll take you the better part of a week, or less if you learn fast. However, it is going to dramatically improve your art.
Combined with your newly acquired knowledge of value, texture, and lighting, you would be better than 97% of newbie artists, without a doubt.
You can easily learn a major chunk of color theory by either reading Color and Light by James Gurney or by watching fun but in-depth videos by Marco Bucci.
Whatever you choose, really understand everything super well, as it’s really going to blow your mind.
You’ll soon realize that color theory isn’t just as simple as thinking purple would look good on your character’s shirt.
No, you have to make solid color decisions, decide on a color gamut, and understand all about saturation, brightness, and hue.
So, don’t avoid learning these fundamentals and I swear that your artwork is going to get SUPER amazing in no time.
Experimenting Around
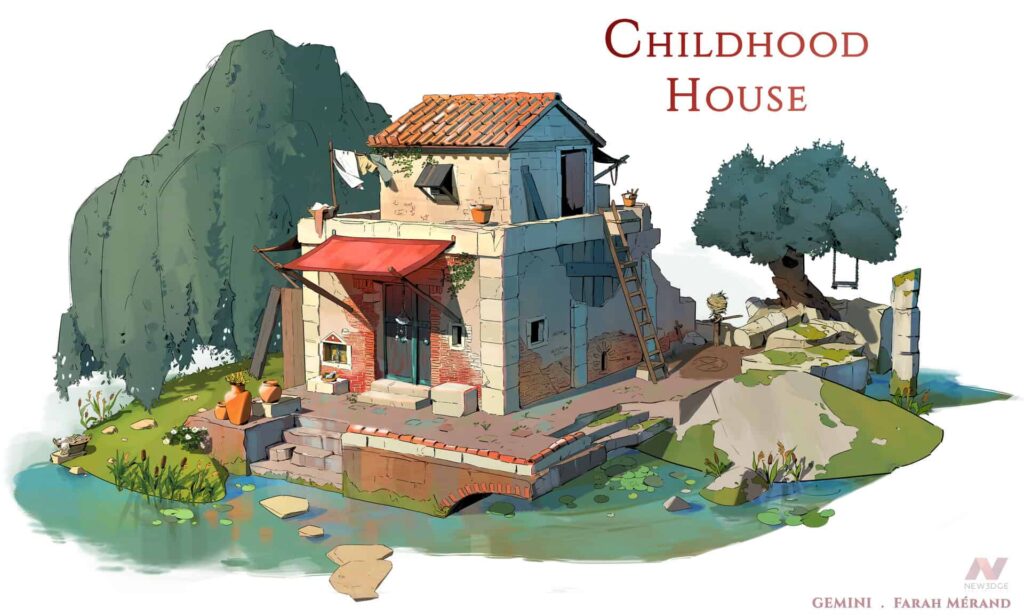
After completing various studies, as well as learning AT LEAST the very basics of anatomy, perspective, and form, you can finally do whatever you want.
Design multiple OCs, create new environments, design a cool outfit, and invent some funky props. Go crazy with everything you’ve learned.
If you find anything hard to draw or render, then just revisit the fundamentals and learn a bit more before attempting the artwork again.
At this stage, I recommend you explore and find brushes that suit you best. Also, try experimenting with masks and figure out what type of art workflow you’re most comfortable with.
Helpful Digital Art Resources
- Sinix Design (AMAZING for rendering)
- Marco Bucci (videos on color, light, shapes, etc.)
- Color and Light by James Gurney (a must-read for ANY painter)
- Proko (perfect for improving your anatomy + figure drawing)
- Lighting Mentor (fantastic for info on color studies)
Conclusion
Well, what are you waiting for?
Pick a software, or a tablet, watch a few great tutorials about the interface of the software, and get started!
Take my advice and learn AT LEAST the very basics using traditional mediums to get started.
If you don’t want to, then you can directly start with digital but remember to learn the art fundamentals while exploring art. You’ll love it even more, I promise!
Now all the best and have fun on your art journey!
PS: If you want to learn EXACTLY how to get 1477% better at art, read this article.
