13 BEST Drawing Supplies You Need in 2024 [The Complete List]
Disclosure: This article may contain affiliate links. That means if you buy something we get a small commission at no extra cost to you.
Are you a complete beginner in art? Are you excited to make some incredible drawings? Or do you want to get better at art?
If the answer is yes to any of those questions, then you’ll need a complete list of the BEST drawing supplies to use.
This list of materials is completely affordable (most of which you’ll find at any stationery store), and is essential to start your drawing journey.
I’ll go over the essential kit (which artists of all levels need), the advanced kit (a few extra tools to upgrade your drawings), and the painting kit (perfect for any kind of painting).
I’ve also mentioned the best brands for each of the drawing supplies, which I have personally tried and tested for years.
These are just my recommendations, and you’re free to go with one that suits you best.
TIP: Just remember to ALWAYS read the product reviews before buying anything for the first time.
Now enough talking and let’s get started!
13 BEST Drawing Supplies You Need in 2024 [The Complete List]
The Essential Drawing Kit
These drawing supplies are the MOST important from the whole list.
They are the base for drawing and you literally won’t be able to draw without them. So, make sure you have them in your art collection.
I recommend artists of all levels to go through this kit at least once to make sure you’re covered.
1. Paper
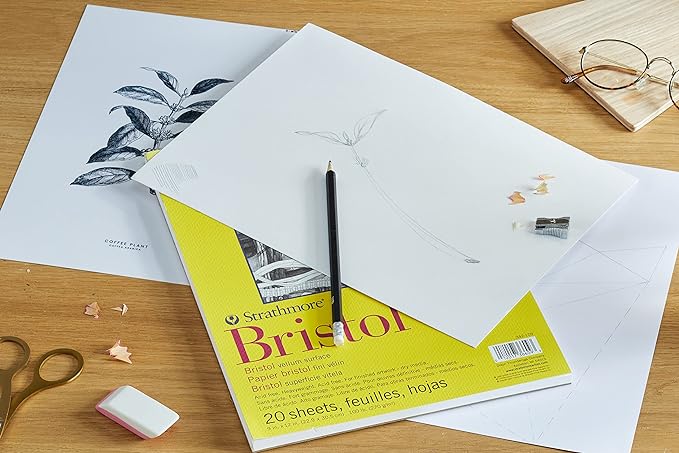
To draw, you need a good-quality surface.
Having high-quality drawing paper makes a HUGE difference, especially when you’re creating more finished pieces of art.
But what is the difference between low-quality paper and high-quality paper?
There are just three categories to keep in mind:
- Weight of the paper
- Texture of the paper
- Material of the paper
While you don’t need to go too much into detail, a good rule of thumb to follow is to get paper that is around 150-300 gsm.
TIP: The gsm (grams per square meter) of the paper refers to the thickness of the paper.
Normal printer paper is 100 gsm, while thick watercolor paper is 300 gsm. It’s better to have paper with a higher gsm number as it withstands water, alcohol marks, and even fine liners.
I would recommend you to opt for smooth paper, as you can blend the graphite MUCH better.
It has a visually pleasing appearance and will elevate your art almost instantly.
However, it’s not magic. It will only make your art look better than it does on normal paper. It won’t suddenly make you an expert.
Only practice and learning the art fundamentals can help you there.
If you don’t know which paper to choose, then I recommend going for the Strathmore 400 series.
They are amazing and have brilliant quality.
The paper is also very durable and is great for sketching. The paper is also acid-free, which means that the pages will retain their color for a long time.
Which Paper is Best For Beginners?
Although I said that it’s better to take thick and smooth paper, if you’re a beginner I suggest you forget that completely.
Use printer paper instead.
Printer paper is PERFECT for anyone just starting with art and there are two reasons for this:
- Printer paper is super cheap and available anywhere
- You can make mistakes and never worry about ruining the paper as it’s really cheap (instead of buying expensive paper and worrying about spoiling it)
This will also massively boost your confidence and you’ll freely practice art, without any pressure.
Thus, I HIGHLY recommend all newbies start with printer paper.
TIP: But once you’re more experienced in art, it’s perfectly okay to invest in some good-quality paper for drawing.
2. Sketchbook

While using drawing paper is lovely, I HIGHLY recommend all artists get a sketchbook for themselves.
Sketchbooks are the perfect way to explore your art and to draw every day. You can doodle, sketch landscapes, draw portraits, render objects, and MUCH more.
It’s also an amazing feeling to just sketch in your sketchbook whenever you want to.
Drawing in your sketchbook is the BEST way to practice your art consistently. This is why most professional artists always keep a sketchbook with them wherever they go.
And that is why you need to keep a sketchbook as well.
Which Sketchbook Is Best?
There are MANY types of sketchbooks available everywhere, which can get super confusing for beginners. But, which sketchbook is the best?
Well, it all depends on you.
You need to choose the type of binding, size, paper weight (we talked about this before), paper texture, etc.
If you want to truly find the perfect sketchbook for yourself, then you can read this in-depth guide right here.
However, in short, I suggest you go for a spiral-bound, acid-free, and A4-size sketchbook.
Spiral-bounded sketchbooks are super flexible and best for sketching on the go. The A4 size will also be great for newbies as you can draw larger drawings with ease.
I recommend you to go for the slightly cheaper options, as they will reduce the pressure you may face while drawing if you’re a complete beginner.
However, if you want to go for a more premium (and amazing) option, I HIGHLY recommend the Moleskine Art Collection Sketchbook.
Although it isn’t spiral-bounded, its quality is simply amazing.
It is perfect for graphite drawings and can even hold watercolors to a certain extent (however alcohol markers do tend to leak through).
But it is the best option for sketching and you really can’t go wrong with it.
Nevertheless, no matter which sketchbook you go with, remember to consistently practice your art.
There’s no point in buying an expensive sketchbook if you don’t practice art regularly.
Thus, choose one that you’re most comfortable drawing in. Whether that may be a stack of printer paper or an expensive sketchbook.
3. Art Pencils
Now, that we’ve covered the drawing surface, we need something to draw with. Pencils.
But not just any pencils. Art pencils.
You absolutely CANNOT use your regular school pencils for this. No, you need one that’s crafted specifically for drawing.
The lead, the wood, and even the barrel of the pencil can affect your drawing MUCH more than you think. It can either positively or negatively impact your drawing.
TIP: While I still believe that the type of drawing tools you use shouldn’t limit your skills in any way, it’s just a HUGE bonus to have great tools at your disposal.
Art pencils:
- Are incredibly smooth to draw with
- Come in various grades (light to dark)
- Are extremely easy to handle
- Have an excellent grip
- Are great for smudging and rendering
So, if you’re ready to take your drawings up a notch, then I HIGHLY recommend you purchase a set of art pencils.
Which is The Best Art Pencil?
Art pencils come in sets and they have varying pencil grades.
But what are pencil grades?
Pencil grades are an indication of how light or dark a pencil is.
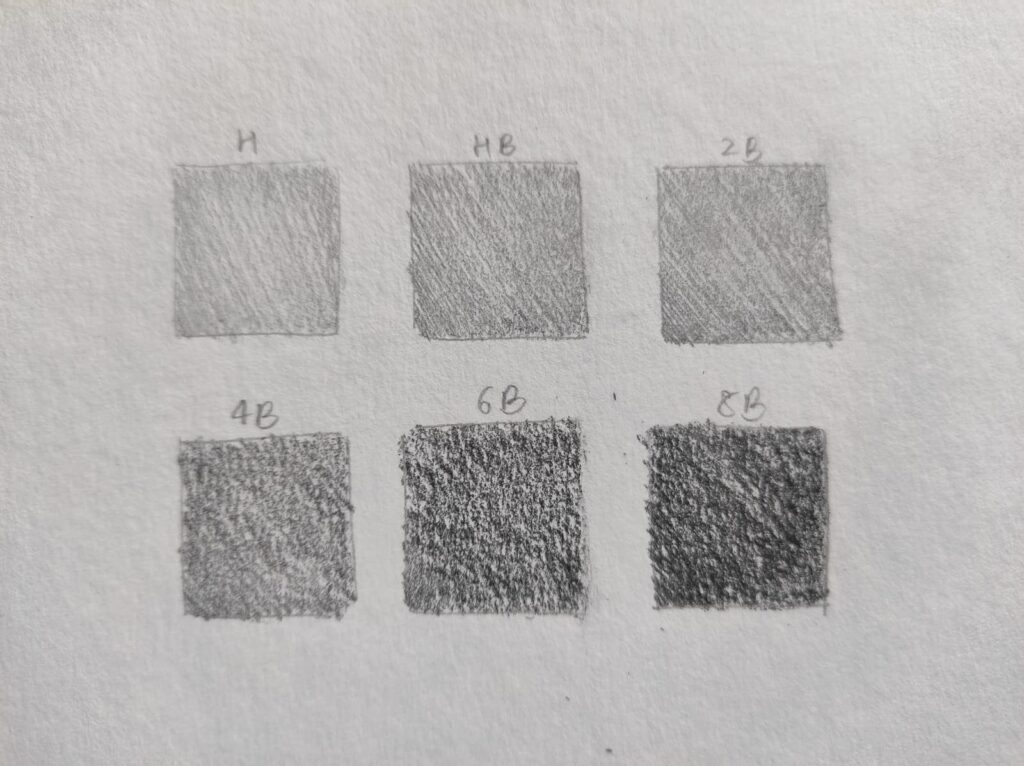
If you’re a bit familiar with drawing pencils, you would have come across words like ‘2B’ or ‘HB’. These are the pencil grade numbers.
The series starts from 9H to H. The H stands for hardness. These series are the lightest which makes it perfect for sketching and detailed drawings.
The HB pencil is a mix of hardness and blackness and is right in the center of the grading scale.
After that, the series goes from 2B to 10B. These series are softer and darker, making them amazing for rendering and finished art pieces.
A normal set of art pencils usually contains around 12 pencils, ranging from 2H to 8B.
Therefore beginner artists should go for a drawing set instead of buying the pencils separately. You’ll get an idea of which grades you’re most comfortable with and can purchase more of them separately.
TIP: If you want to know more about art pencils and how to choose one perfect for you, you can read this article right here.
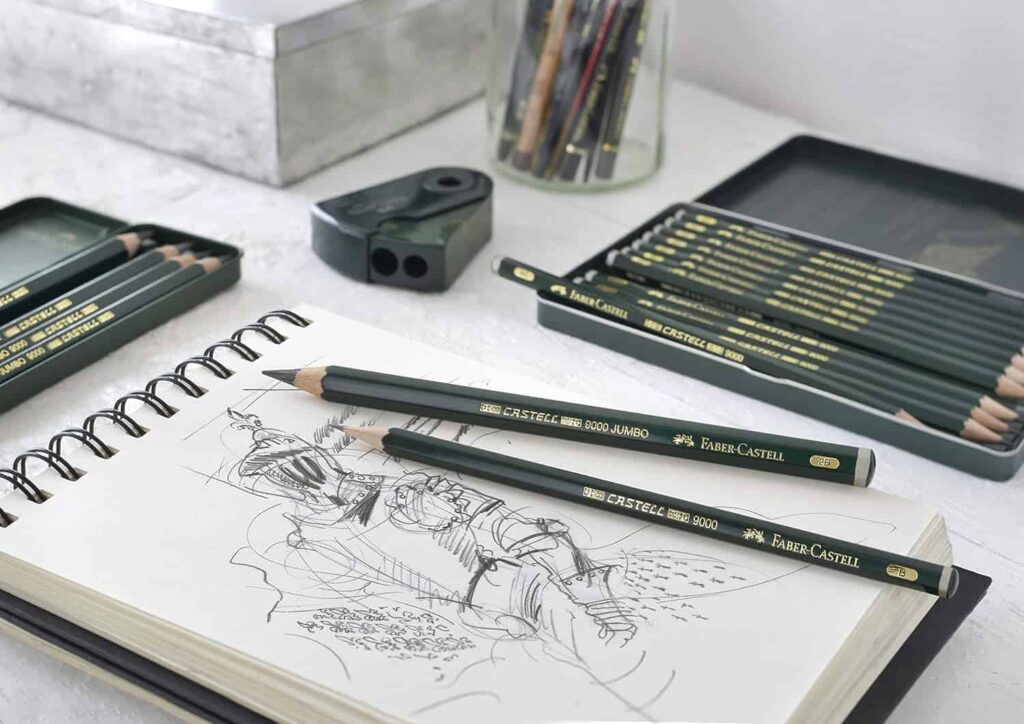
My absolute favorite choice is the Staedtler Mars Lumograph Art Drawing Pencils. They are very durable at a super affordable price. I have been using them for years without any problems at all.
However, if you want to go for a more premium option, the Conté à Paris pencils are fantastic. They are buttery smooth and glide over the paper. However, they are also quite expensive.
Other than these, the Tombow Mono Drawing Pencil Set is also superb, and it comes along with a great eraser and sharpener.
To read more about the best drawing pencils, you can check out this article.
4. Eraser
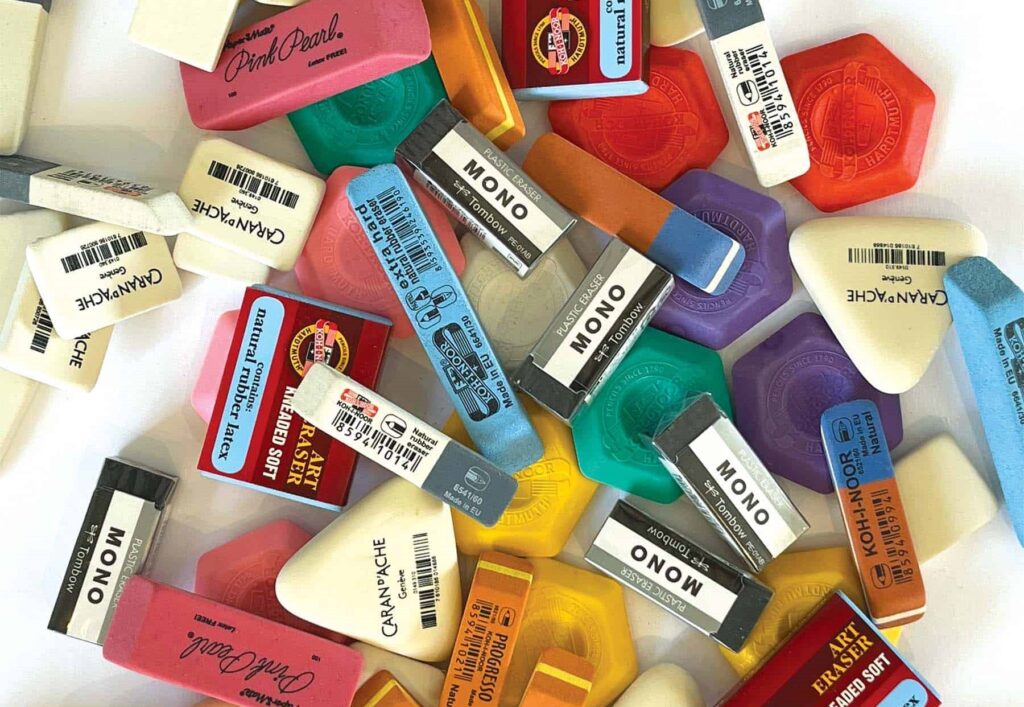
However, it may be surprising to know that there are three different types of erasers artists use. Yes, it’s not just the regular vinyl eraser everywhere.
The three different erasers are:
- Vinyl eraser
- Kneaded eraser
- Electric eraser
Each of these has its advantages, which we’ll discuss right now.
Vinyl Eraser
First up is the vinyl eraser.
It’s the regular eraser you can find at any stationery store. They are super cheap and are great for erasing in larger strokes.
You can try the Tombow Mono Eraser for this. It’s an amazingly smooth eraser and removes all the pencil strokes instantly.
TIP: While you can go for any brand you prefer, just make sure that you can erase smoothly and that all the pencil marks disappear.
Kneaded Eraser
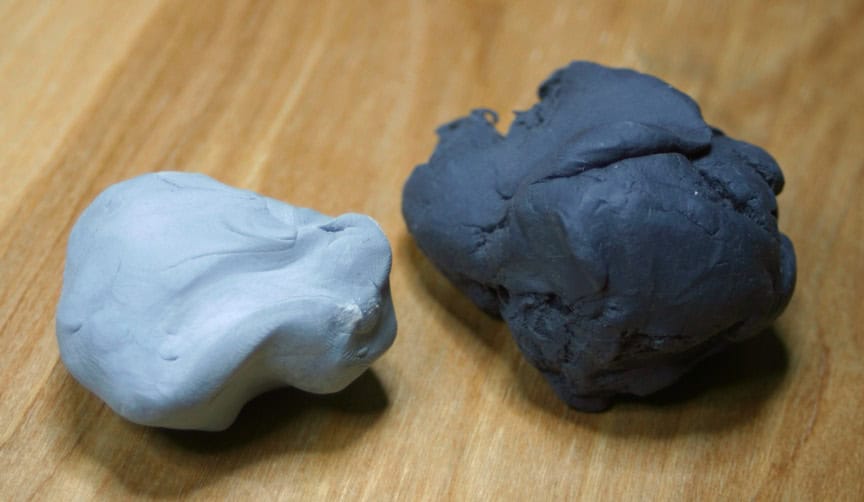
The next eraser is the kneaded eraser.
It is the BEST eraser for artists, simply because you can mold it into any shape you want. Whether you want to mold it into a ball, or a long cylinder is completely up to you.
You also don’t erase the same way with a kneaded eraser. Instead of rubbing the paper, you can simply dab the paper with the kneaded eraser and the graphite gets absorbed into the eraser.
Cool, isn’t it?
The eraser simply absorbs the graphite and becomes darker in color, leaving virtually no annoying shavings behind.
TIP: The kneaded eraser is amazing for erasing small, detailed work. It is best used in portrait drawings and rendered pieces.
Electric Eraser
The electric eraser spins instantly at the push of a button. This helps you to get rid of the graphite right away and is quite effortless.
The eraser is also in the shape of a thin, long cylinder, which is perfect for erasing tiny details from your drawings. You can use these for portrait drawings or more finished pieces of art.
If you’re interested in buying an electric eraser for yourself, then I recommend the Derwent Battery Operated Eraser.
It’s quite affordable and comes with 8 refillable packs as well.
5. Sharpener
How can you have pencils without sharpeners, right?
You can find sharpeners at literally any stationery store and they are all quite similar so I don’t think you need to worry about the brand.
Just try it out on a pencil first before buying it as the graphite shouldn’t break off while sharpening.
Another brilliant way to sharpen pencils is by using a craft knife.
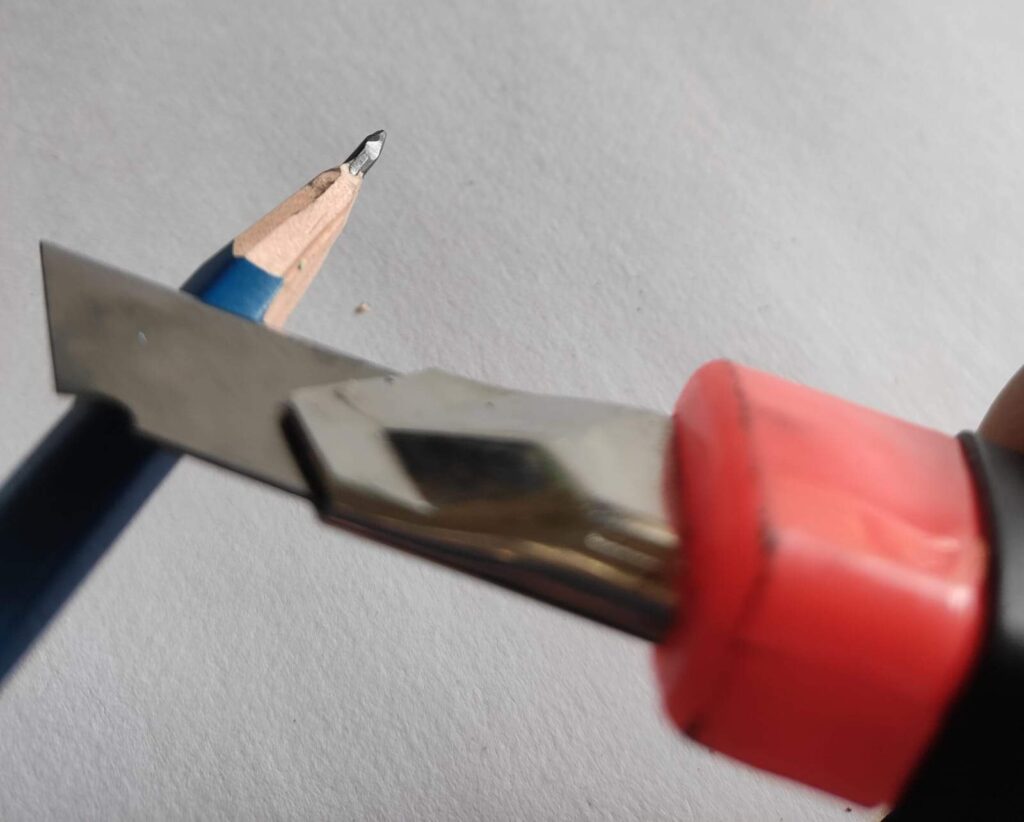
Sounds crazy, I know but SO many professional artists use only a knife to sharpen their pencil.
This has two advantages:
- You can control the entire sharpening process much better than the normal way
- You can control EXACTLY how sharp you want the lead to be
Sharpening your pencil with a knife may seem SUPER scary to you, but I promise you it’s not. It’s quite easy once you get the hang of it.
Here is a great video explaining exactly how you can sharpen your pencil with a knife.
The Advanced Drawing Kit
Now, while the essential drawing kit is necessary to draw, the items on this list just supplement the essential kit really well.
You can either choose to get it (and have a TON of fun), or you can stick to the essentials if you don’t have the budget to spare.
These items will make your drawings look MUCH better and you’ll have a lot more variety of tools to experiment with. Intermediate artists will benefit from having these tools on their list.
Now, without further ado, let’s get started!
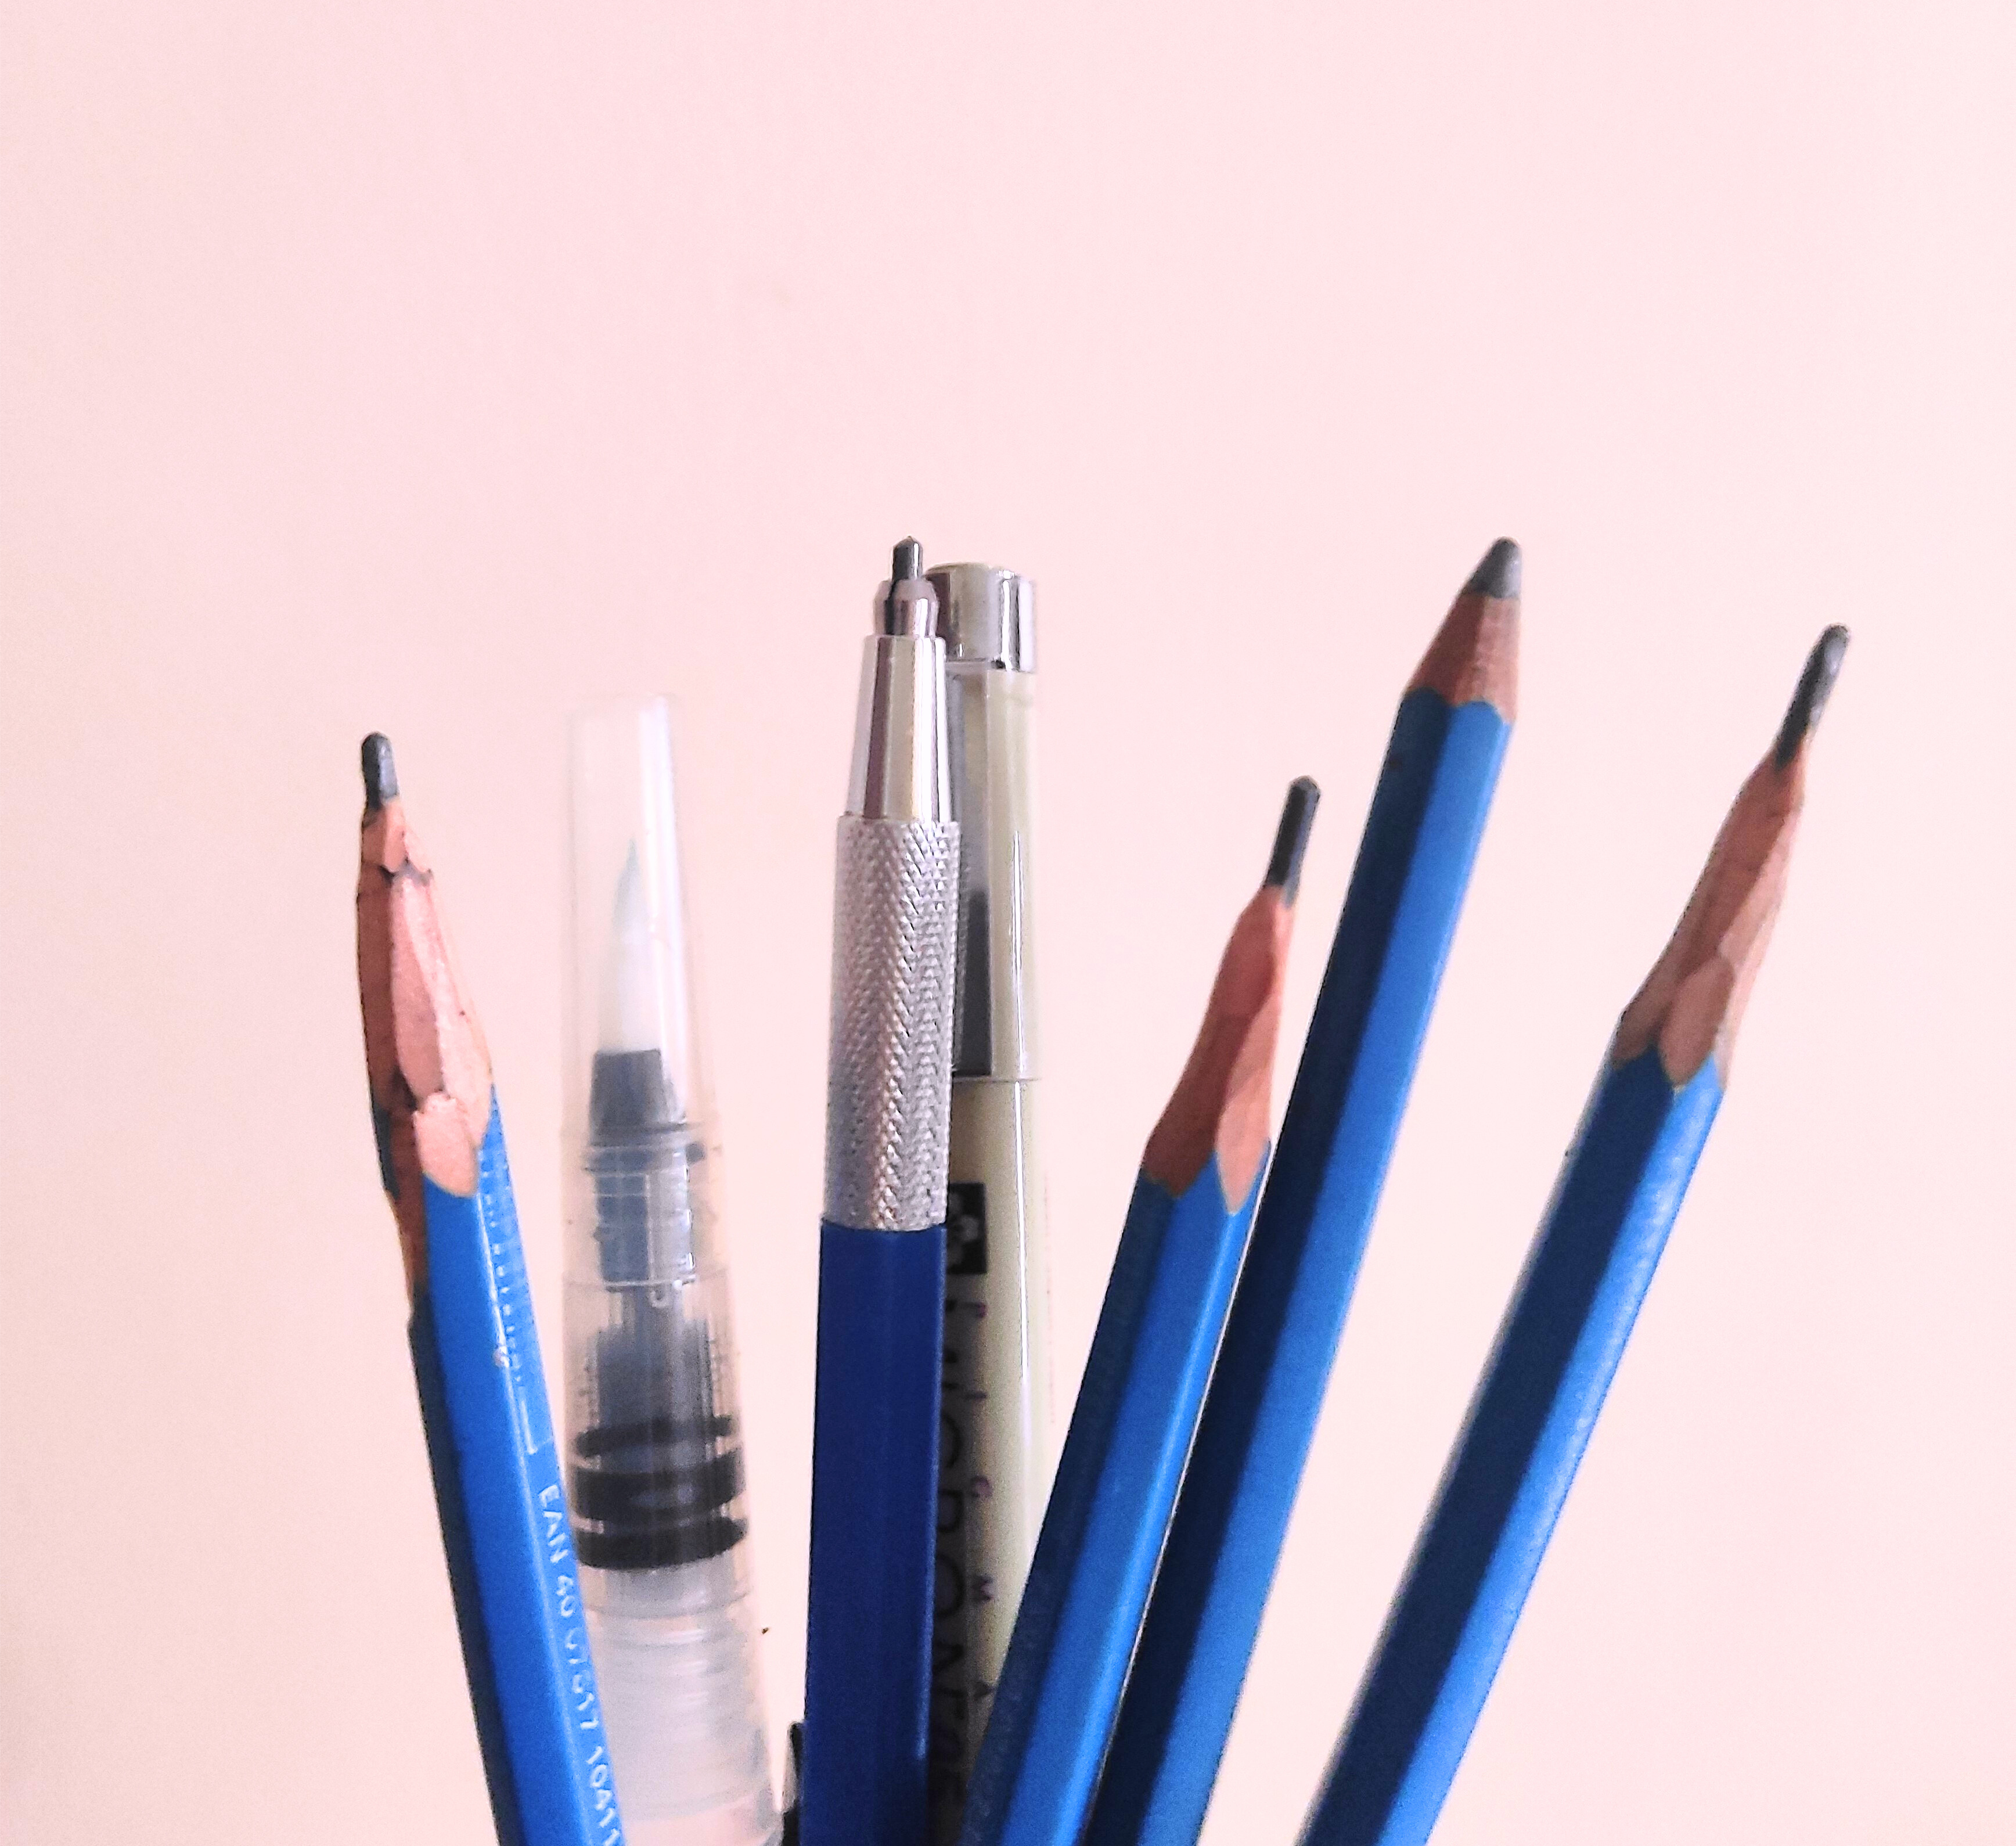
1. Mechanical Pencil
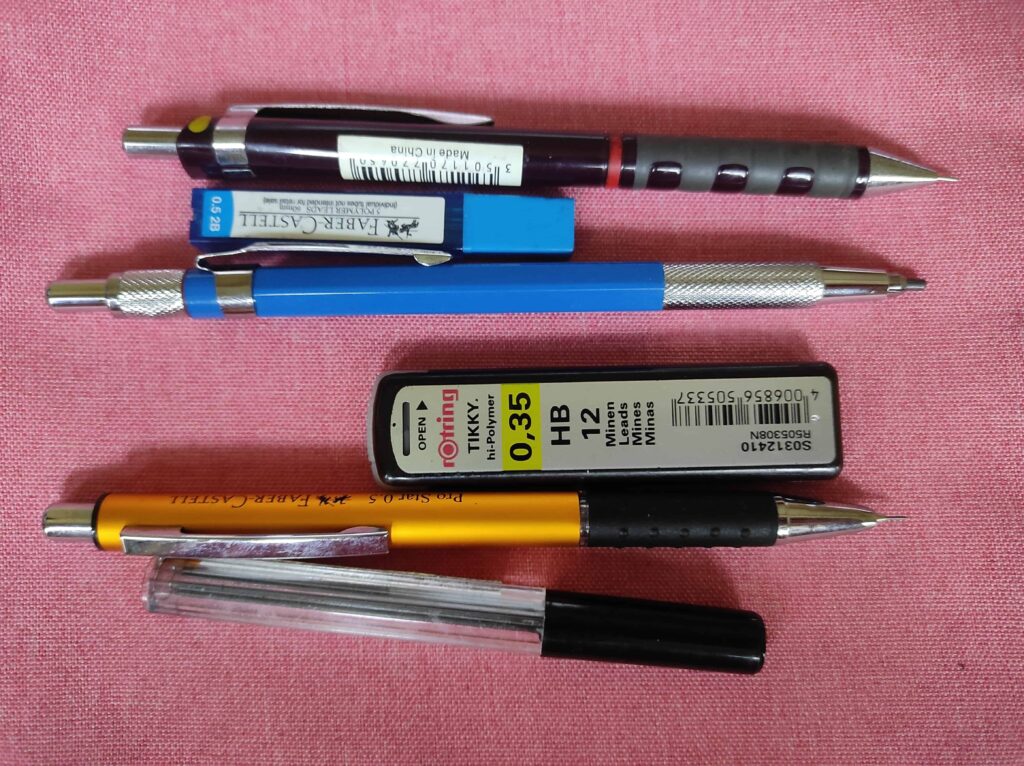
The mechanical pencil is MUCH more precise and is easier to maintain compared to the regular drawing pencil.
This is basically because you don’t have to sharpen the pencil at all. You can simply refill the lead once it’s over.
However, you may need to buy several mechanical pencils, as each has its lead sizes.
For regular sketching, around 0.5mm to 0.9mm is most suitable.
But, to get the most out of the mechanical pencil, I highly recommend you get a 0.3mm for extremely detailed drawings. They even go up to 0.05mm, so I suggest you try one that you’re comfortable with.
TIP: Mechanical pencils are just AMAZING for portrait drawings. They also you to detail the features much better than a regular pencil.
Also, if you want to use the mechanical pencil as your go-to pencil for drawing, then you can try getting a thicker lead, like a 2mm. You can sharpen it with sandpaper and use it for rendering as well as drawing.
2. Blending Tools
A great way to make your drawings look more professional is to use blending tools. These help you render MUCH better.
If you normally render your drawings by simply smudging the graphite with your finger, then I suggest you change your process.
The natural oils from your finger tend to leak onto the paper when you smudge in this manner, leaving dirty areas on the paper.
It’s also an amateur technique, that I only recommend using when you have NO other option.
Thus, it’s way better to blend your drawings with a blending tool. It spreads more evenly and makes your art look beautiful as well.
There are three different blending tools you can use:
- Blending stumps
- Cotton buds
- Tissue paper
All of them are equally great, with the blending stump being ever so slightly better. But, I recommend you go with the most convenient option for yourself.
If you have some cotton buds or tissue paper lying around the house then you can just use them.
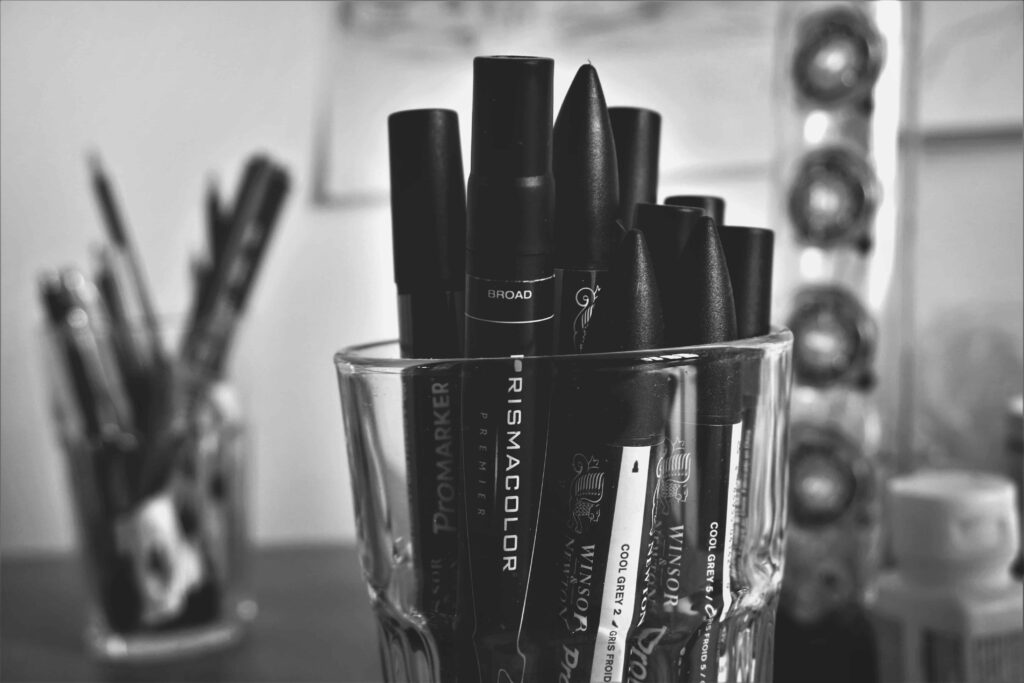
3. Pens
Okay, I know this may sound weird to you. Like why would you need a pen for drawing?
Well, you better believe it because pens are AMAZING to draw with.
They look fantastic and it’s easier to hide your mistakes with the pen than you might think.
So, you have no reason to not draw with pens, because trust me, they help you a LOT. Here are just some of the advantages of drawing with a pen:
- By practicing drawing with a pen, you get over the fear of making mistakes and learn to become looser with your drawings
- Your strokes get more fluid and your line art improves like crazy
By constantly practicing with pens, you’ll also improve WAY faster than with pencils.
TIP: Since you can’t erase your mistakes, you’re forced to confront them. This will end up making you a much better artist.
Therefore, I HIGHLY recommend you try drawing with pens. It won’t be easy at first, but you’ll get the hang of it and your drawings will improve rapidly.
There are three types of pens you can use:
- Ballpoint pen
- Brush pen
- Fine liners
Ballpoint pens and fine liners are brilliant for line drawing as well as sketching. I love using the Sakura Pigment Microns. They come in different sizes and are great to work with.
TIP: For ballpoint pens, you can honestly go with any. I recommend you try them out and see which works for you best.
Brush pens look AMAZING.
But they’re incredibly hard to learn and master.
You can draw with the pens and even paint in the fill areas with them. They are mostly used by comic book artists and the style of art produced is particularly striking.
If you love manga and want to replicate the effect, then this is the pen to go for.
The Tombow Fudenosuke Brush Pen is a great option to go for, and you can get both, the soft tip and the hard tip in this set.
4. Color Pencils
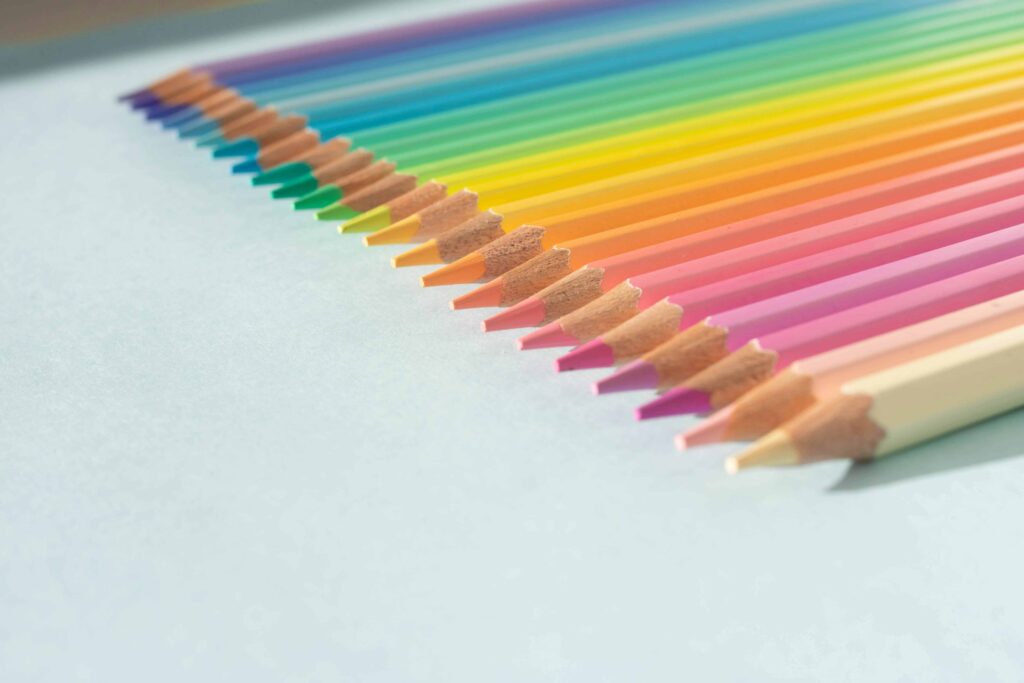
These are a must if you love traditional drawing.
Color pencils bring so much vitality and emotion to a drawing that you really can’t miss out on them. They’re also superb for portrait drawing, although it’s quite hard to master shading with them.
But, with the plethora of free tutorials available, I’m sure you’ll excel in using colored pencils.
Which brings us to the question, ‘Which color pencils to get?’
The one I’ll always recommend is the Prismacolor Premier Soft Core Colored Pencil Set. Although it may be slightly expensive, it’s perfect for beginners and gives the best value for money.
They are soft, wax-based pencils that are super easy to blend. There are a ton of set sizes, from 12 to even 150.
I recommend opting for the 36-size set. It has a variety of colors to choose from, without going crazy expensive on your first set of color pencils.
5. Alcohol Markers
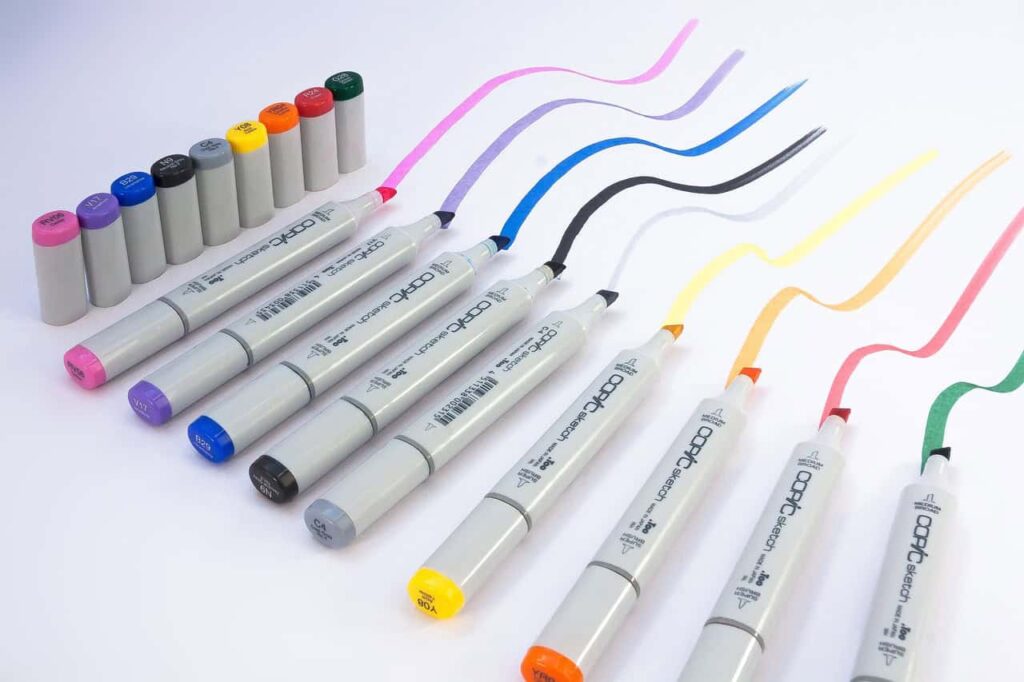
Another way to render your drawings with some vibrant colors is by using alcohol markers.
These are insanely fun to use but do get quite pricey depending on which markers you buy. Also, the sketchbook you use it on will have to be quite thick to withstand the markers.
That means you’ll need to have a sketchbook of around 150-200 gsm at least.
Nevertheless, markers look quite gorgeous if done well and give a great added effect to your drawings.
Copic Markers are the best option for this. They are amazing but slightly on the expensive side.
You can go for the 36 set option if you don’t want to spend too much and you’ll still get a wide range of colors to play around with.
Another more affordable option are the Ohuhu Markers. They have excellent quality as well.
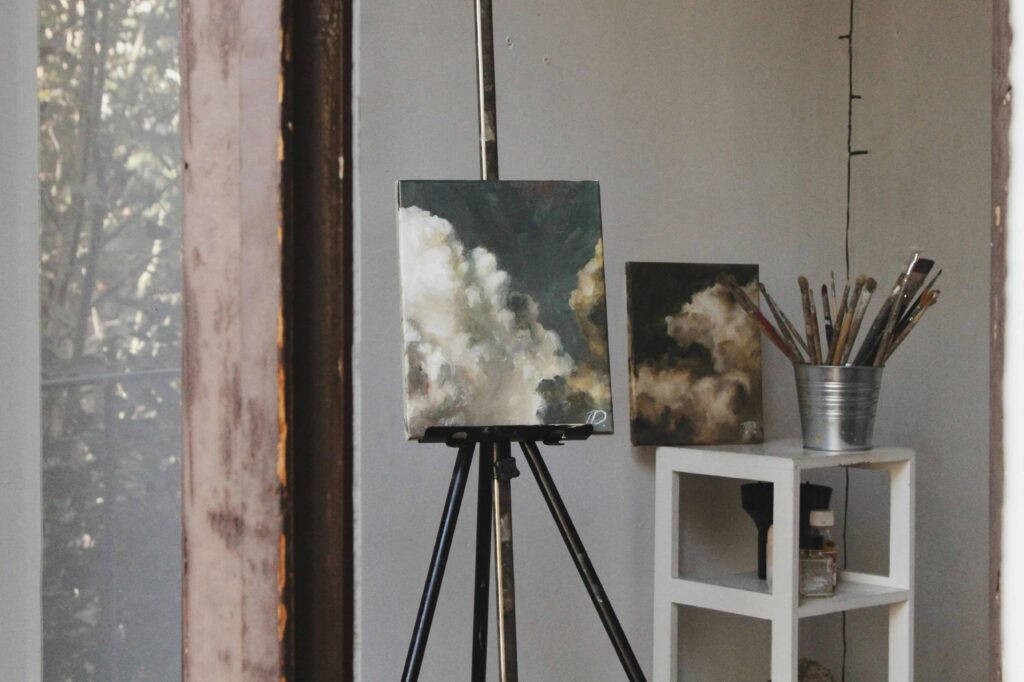
The Painting Kit
This is a bonus section that’s perfect for anyone who loves painting.
I’ve gone over all the basic materials you will need for painting watercolors, oil paints, and gouache. You can choose what you need, depending on what you like the best.
1. Paints
For obvious reasons, you’re going to need paints to paint.
But, which medium should you go for? Oil paints, watercolors, or gouache?
Watercolors
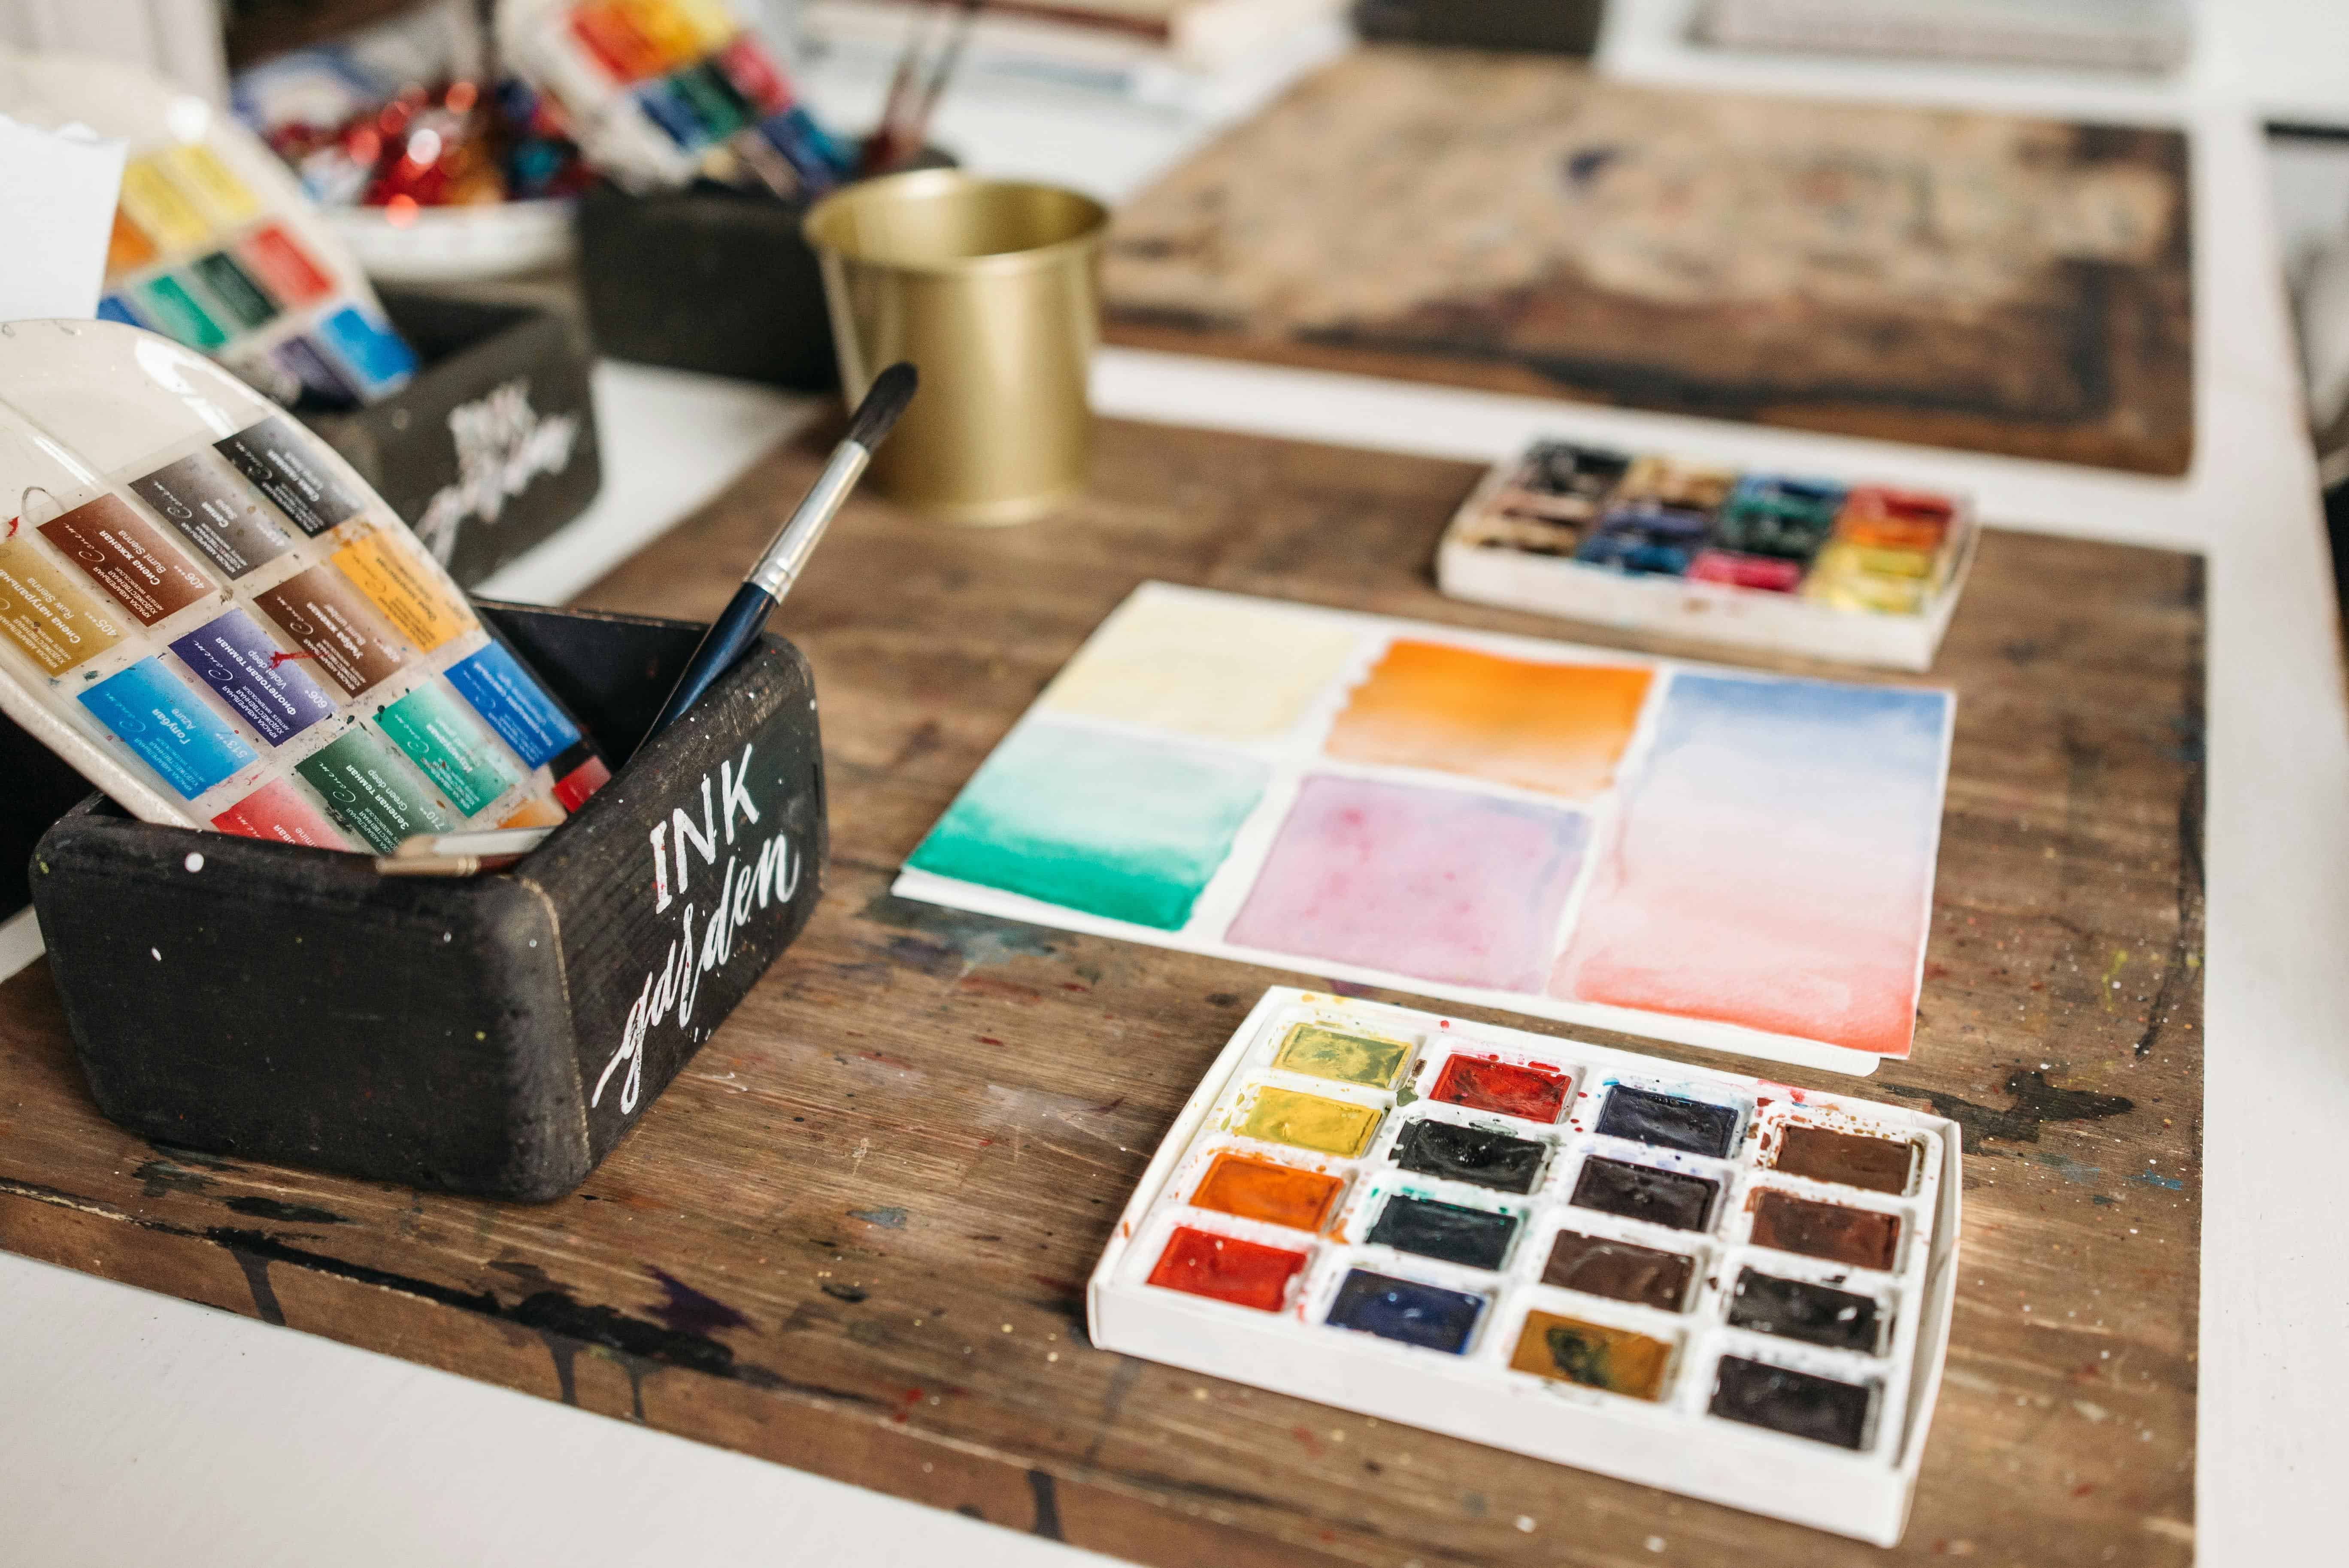
Watercolors are the easiest medium to start with. While the learning curve may get difficult over time, it’s super beginner-friendly and affordable.
They give a subtle, natural effect to the painting, which can look amazing if you plan on painting people, landscapes, architecture, or nature.
The Windsor and Newton paints are perfect for all watercolor enthusiasts. There’s even an in-built palette in the paint set for you to use.
Gouache
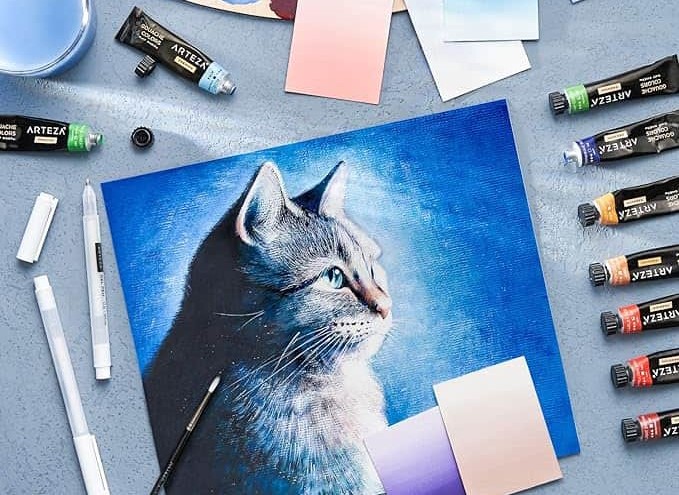
Gouache is VERY similar to watercolor colors.
However, unlike watercolors, gouache paints are stored in tubes. This makes them SUPER easy to use.
These paints are incredibly vibrant and are slightly thicker than watercolors. They also excel in all the areas watercolors do as well.
Again, the Windsor and Newton Gouache paints are perfect to start with.
Oil Paints
Oil paints are quite opposite from the previous two paints.
They are oil-based, which comes with its own set of challenges, and a TON of rules.
Here are just some of the differences you’ll see:
- Instead of diluting the paint with water, you’ll have to do so with oil instead
- You’ll need to follow the ‘Thin Over Thick‘ technique (in which you put less concentrated paint in the initial layers and the thicker paint layers in the final few layers)
- The paints take a LONG time to dry; each layer may take a few days to fully dry
To understand the process thoroughly, you can read this in-depth article here.
For now, let’s talk about which oil paints are the best.
Again, I’m a huge fan of the Windsor and Newton Basic Oil Set. They always have great quality at an extremely affordable price.
TIP: If you’re confused between watercolors and oil paints, then I have an in-depth post that explains exactly why you should start with watercolors first.
2. Brushes
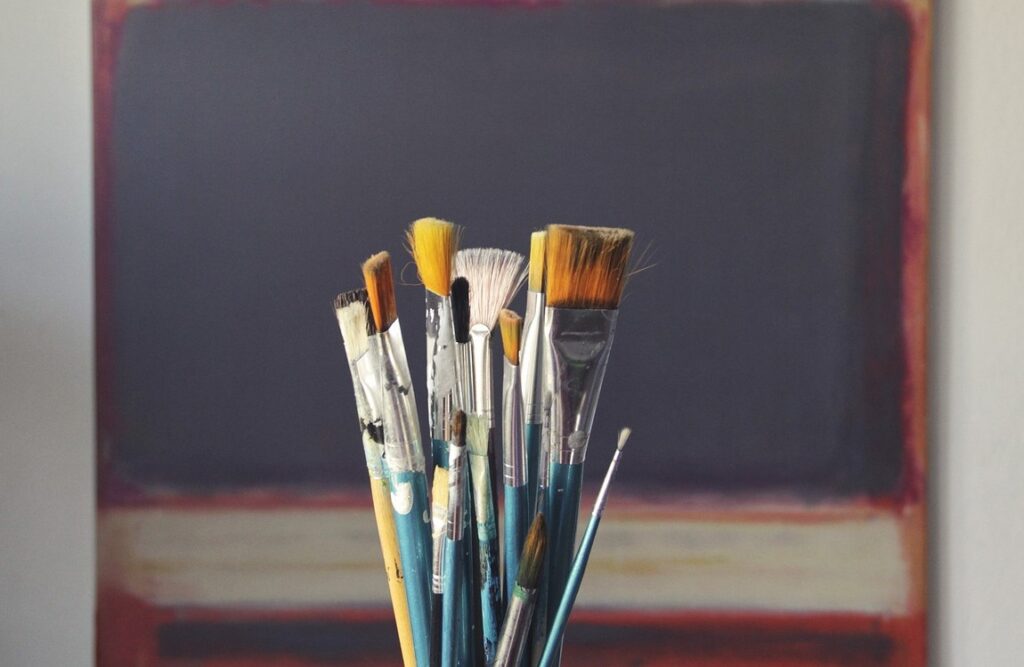
For painting, brushes are an absolute must.
But, the type of brush you use also impacts your painting quite a bit.
There are three types of brushes:
- Sable brushes
- Synthetic brushes
- Water brushes
Sable brushes use animal hair to make up the strands of the brush. Although it’s quite popular, the hairs do tend to break off from the brush.
Therefore, I HIGHLY recommend you go for synthetic brushes. They are much more durable and maintain great quality.
For watercolors and gouache, I suggest you go for the Princeton brushes. They have excellent quality and help you paint MUCH better.
TIP: I especially love their Neptune series. They are perfect for watercolors.
The third type of brush is the water brush.
It is awesome to use while on the go, as you don’t need to carry a separate water container. You can simply fill some water in the tube of the water brush.
To paint, all you need to do is take some paint on the brush and then squeeze the tube for the water to come out of the brush. The water then mixes with the paint.
Cool, right?
Therefore, if you love painting outdoors, then I highly recommend getting one for convenience.
3. Palette
Although a palette isn’t necessary for a good painting, it makes the task of blending much easier.
I suggest you find a good-sized palette with AT LEAST 6-9 mixing compartments. There are plenty of different-sized options, so go for one that you’re most comfortable using.
TIP: Before purchasing one, make sure that your paint set doesn’t already come with an in-built palette.
Bonus Section
Now that we’ve reached the end of the list, I’m sure you have a fairly good idea of what you need.
Again, I recommend everyone to at least get the essential kit. It’s the base for any drawing you may do.
If you’re a more experienced beginner and want to try new art materials, then getting the materials from the advanced kit or the painting kit is a wise decision.
While we’ve covered ALL the materials you would need for traditional art, if you want to know which materials are the best for digital art then you can read this post.
I go over all the digital supplies you’ll need AND give you a complete guide to learn digital painting fast.
Here are some other posts you may also be interested in: